Scheduled jobs - New UI
SECURITY Refer to JOBS in Security Level Details - Permissions
NAVIGATION New UI > Devices > All > select a device > Create a Job
NAVIGATION New UI > Sites > click the name of a site > select a device > Create a Job
NAVIGATION New UI > Device Summary > click the Device Actions icon > Create a Job. To learn how to access the Device Summary page, refer to Device Summary - New UI.
NAVIGATION New UI > Job Details > Create Job. To learn how to access the Job Details page, refer to Job details - New UI.
NAVIGATION New UI > Automation > Components > select a component > Create a Job
NAVIGATION New UI > Automation > Jobs > click a job > Edit Job
NAVIGATION New UI > Automation > Jobs > Job table > click Edit Job from the Action column
NAVIGATION New UI > Job Details > click Edit Job from the Action column. To learn how to access the Job Details page, refer to Job details - New UI.
About
A job is an automated process for deploying one or more components to a number of devices, either immediately or at a scheduled time. When a job runs, the Agent downloads the job to the local hard drive of the device or devices, unpacks the package into its component parts, and runs the script. Jobs can be scheduled for individual devices, sites, filters, or groups. The following device types support running jobs:
- Servers
- Laptops
- Desktops
Components must first be downloaded from the ComStore into your Component Library. Refer to ComStore. Components can only be added from the ComStore if you have Manage access to ComStore. Refer to Security Level Details - Permissions.
NOTE A quick job allows you to immediately deploy one component without having to schedule the job. Refer to Quick jobs - New UI.
Creating a job
Enter a name for the job.
Click Add Component to open a pane to the right.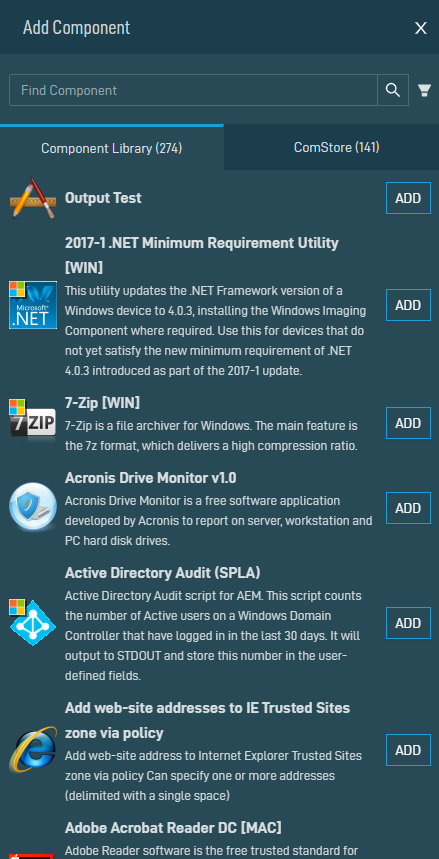
You may filter components by component group or category using the filter drop-down menu, or you may search for components using the search bar. The search results will be narrowed as you type. For more information about component categories, refer to List of components. You will only be able to see the components available to you based on your component level. Refer to Component Level.
Within the Component Library tab, click Add to add a component to the job. All components of the categories Applications and Scripts are available for jobs. Refer to List of components. You may also add a component from the ComStore to your job. Within the ComStore tab, click Add. The component will be automatically added to your Component Library as well as to your job. Components that have already been added to your Component Library will appear as grayed out. Hovering over the grayed out component will display a tooltip that allows you to click to navigate to the downloaded component within your Component Library.
Once the component has been added, click X to close the pane and return to the Create a Job page. You can then configure any required variables for the component.
Maximum variable value: 65534 characters. 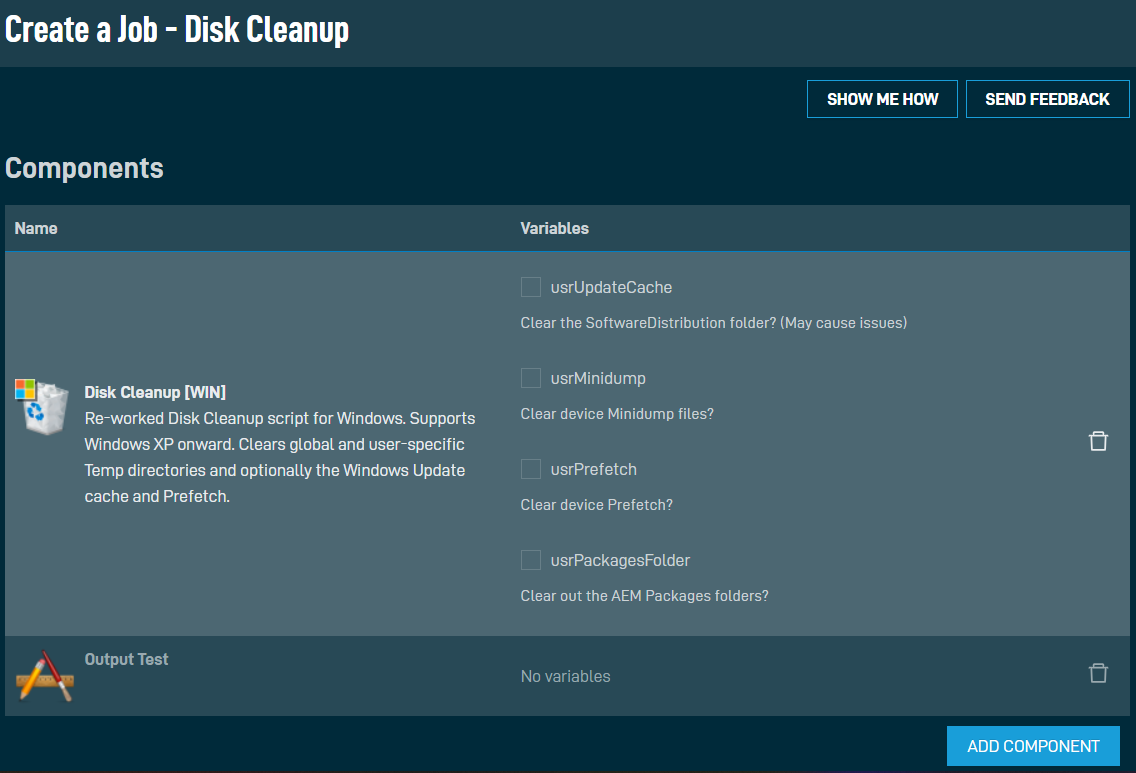
You may also add or remove components. Multiple components will run sequentially in the order in which they are added. You can change this order by dragging and dropping the components on the page in the order in which you want them to run.
Click Add Target to open the Targets pane. Click Add to add the selected target or Delete to remove it. When creating and scheduling a job from a device's page or a devices table, the selected target will automatically be populated in this section.
You may filter on the following target types:
| Target Type | Description |
|---|---|
| Device Filters | You can select any of the default device filters provided by Datto RMM, as well as custom device filters and site device filters. Refer to Filters. When you choose a default device filter, you can edit the sites by clicking the pencil icon on the Create a Job page.  Within the Filter by Site(s) pane, toggle the All Sites button off to only select certain sites instead of all sites. You may also search for sites using the search bar. These changes will be reflected on the Create a Job page. If specific sites are selected, hover over the number of sites to see which sites have been selected for this device filter.  NOTE Device filters must first be configured within the current UI. Refer to Create a custom device filter and Create a site device filter. |
| Device Groups | You can select device groups and site device groups. Refer to Groups.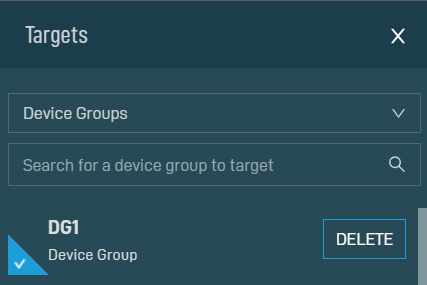 NOTE Device groups and site device groups must first be configured within the current UI. Refer to Create Device Groups and Create Site Device Groups. |
| Site Groups | Refer to Groups.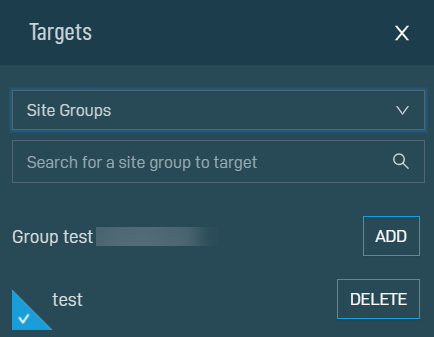 NOTE Site groups must first be configured within the current UI. Refer to Create Site Groups. |
| Sites | Refer to Sites. |
| Devices | Refer to Devices - New UI. |
You may also search for targets using the search bar. A check in the corner next to a target indicates that it has already been added to the job. Click X to close the Targets pane and to return to the Create a Job page. 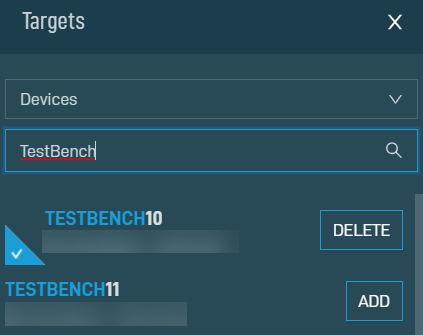
A scheduled job allows you to run one or more components immediately or at a scheduled time. Select an option from the Recurrence drop-down menu to schedule your job. The calendar view will provide a visual indicator of when the job will run according to the selected schedule. The following options are available:
| Field | Description |
|---|---|
| Immediately |
The job will run as soon as it is created.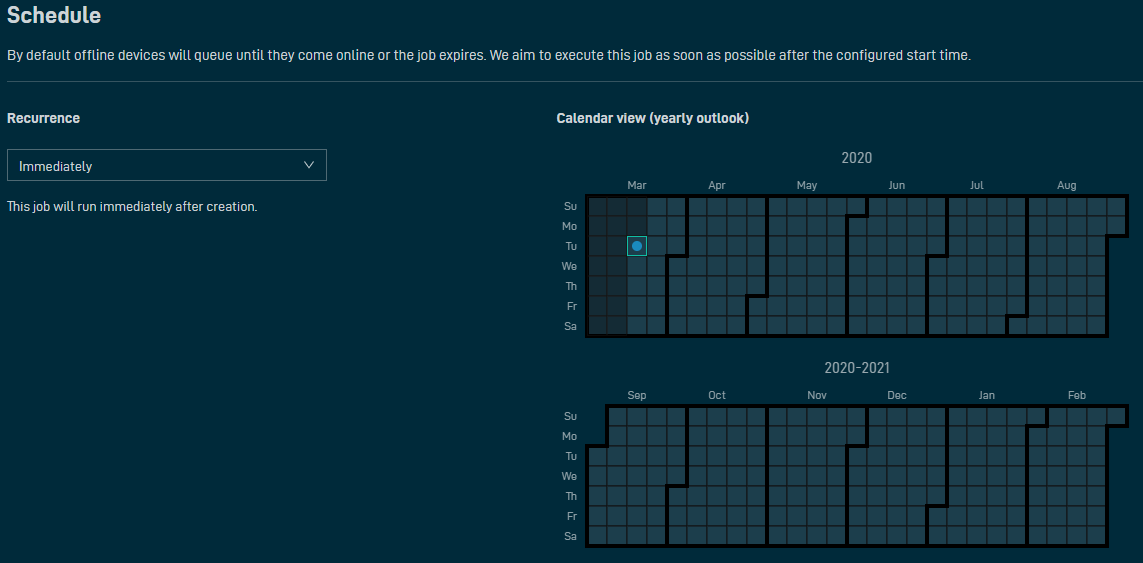 |
| At selected date and time | The job will run once at the selected date and time. Select the start date and execution time from the corresponding drop-down menus.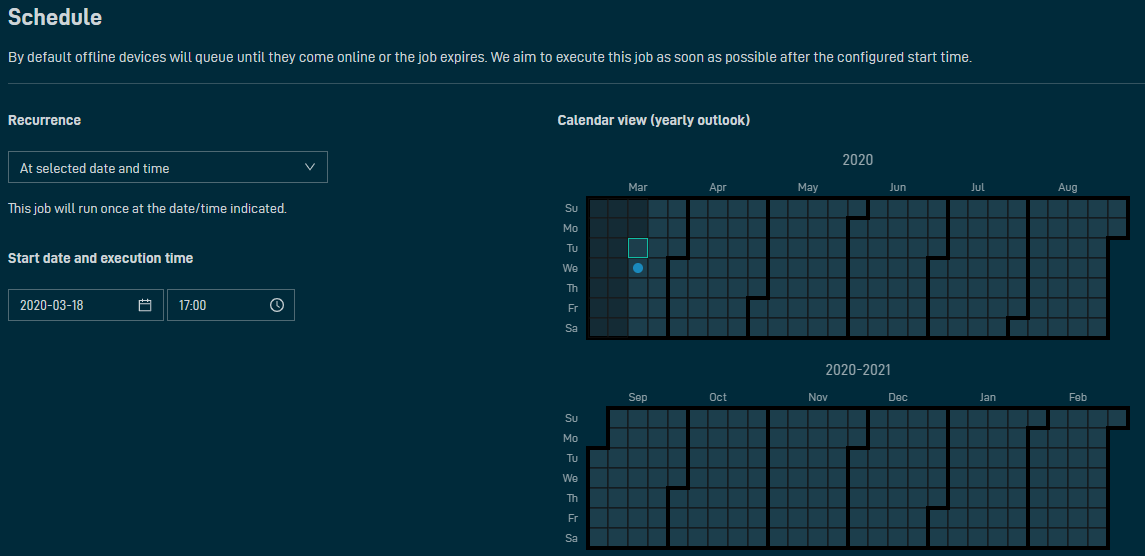 |
| Daily | The job will run every day at the time indicated. Select the start date and execution time from the corresponding drop-down menus.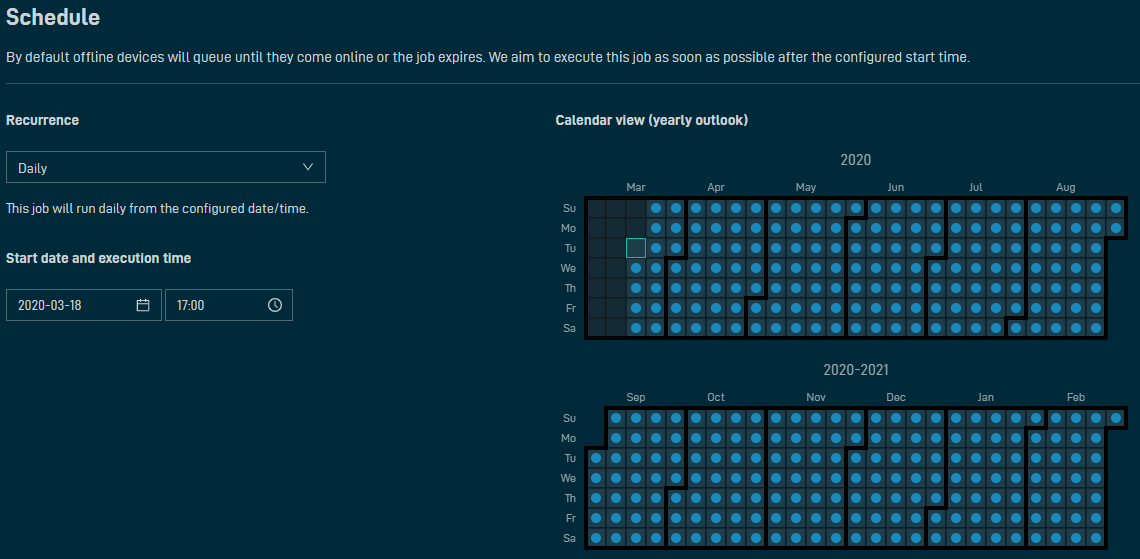 |
| Weekly | The job will run every week. Select the start date and execution time from the corresponding drop-down menus. Then, click on the days the job will run. Clicking a second time will clear that day.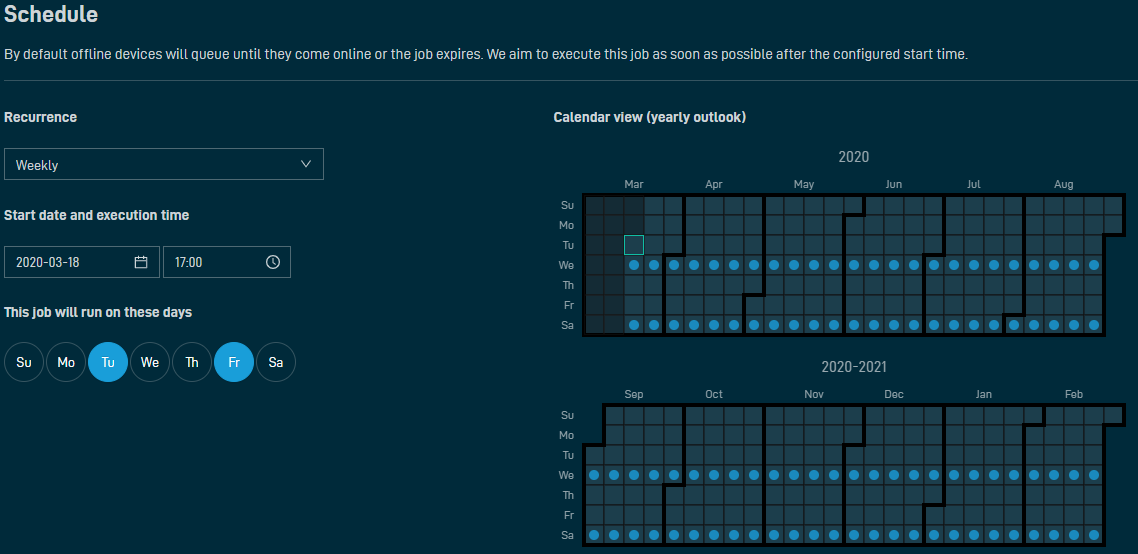 |
| Monthly | The job will run in the selected months. Select the start date and execution time from the corresponding drop-down menus. Then, click on the months the job will run. Clicking a second time will clear that month. Enter the days of the month that the job will run into the On these days field (1-31), separating each day by a comma. Once added, the days are listed below this field and can be removed by clicking the X next to the day you wish to remove.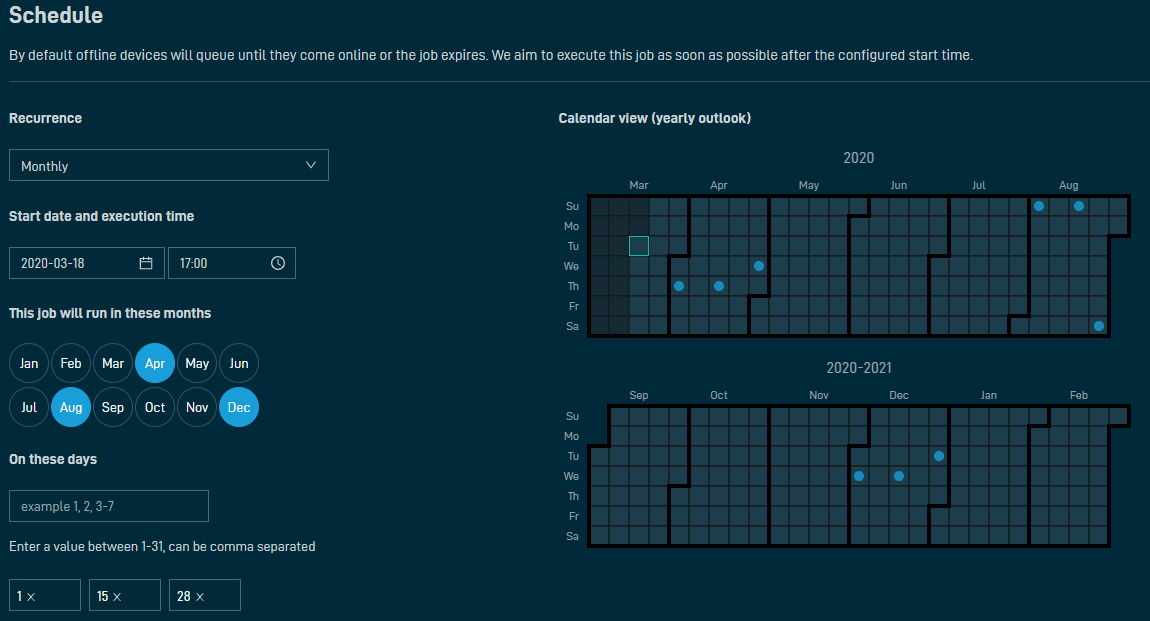 |
| Monthly day of week | The job will run in the selected months on the specified occurrence of the selected days of the week. Select the start date and execution time from the corresponding drop-down menus, then select the occurrence, days, and months in the sections below. Clicking a second time will clear that option.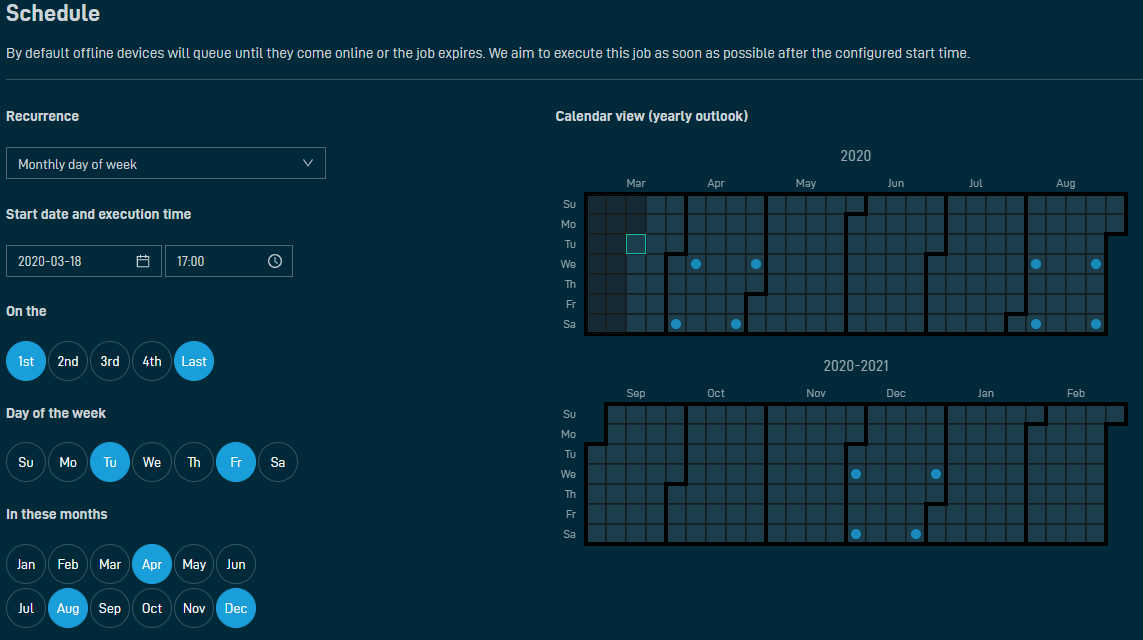 |
| Initial audit | Devices with audit data matching the target requirements will run this job. Jobs will automatically expire on devices that do not meet the target requirements. NOTE Initial Audit jobs cannot target individual devices. If individual devices were added, a dialog box will inform you that they have been automatically removed from this schedule. |
Select when the job will expire from the Expiration drop-down menu. 
The following options are available:
- Does not expire
- 30 mins
- 1 hr
- 2 hrs
- 4 hrs
- 8 hrs
- 12 hrs
- 1 day
- 3 days
These options allow you to run the job automatically or with user interaction.
Choose from the following options:
- Run as system account: Select to run this job automatically without user interaction.
- Run as a logged in user: Select to run this job automatically only when the user is logged in. Once selected, the following additional options become available:
- Prompt for permission: Toggle to prompt the user to run the job.
- Logged in user must have administrator rights: Toggle if the end user must be an Administrator of the device in order for the job to run.
When you are finished, click Create Job.
NOTE The Create Job button will only become available once you have entered a name for the job.
A dialog box will confirm whether you wish to create this job. Click OK. A confirmation dialog box will confirm that the job has been created successfully. Otherwise, click Cancel to return to the Create a Job page.
Editing a job
On the Edit a Job page, complete the sections below to modify an existing job. You may also retire the job by clicking Retire or delete the job by clicking Delete at the top of the page.
IMPORTANT A job can only be edited, deleted, or retired by an Administrator or a user with the same security level as the one that was used when the job was created. For example, if a job was created by a user with Administrator security level, non-Administrator users will be unable to edit, delete, or retire that job.
NOTE As with quick jobs, jobs that are scheduled to run immediately cannot be edited.
| Field | Description |
|---|---|
| Name | Change the name of the job. Refer to Name. |
| Components | Add, remove, or change the order of components the job will run. Refer to Components. |
| Targets | Add or remove targets the job will run against. Refer to Targets. |
| Schedule | Configure a schedule for the job. Refer to Schedule. |
| Execution | Choose how to run the job. Refer to Execution. |
| Enabled/Disabled | Enable or disable the job. |
| Save the job | When you are finished, click Save to save the changes to the job, or select Cancel to discard the changes. A dialog box will confirm whether you are sure you wish to edit this job. Click OK to save your changes. A dialog box will confirm that the changes have been saved successfully. Otherwise, click Cancel. |
Viewing job details
Jobs and their statues can be viewed from the Jobs Overview page. Refer to Jobs overview - New UI. They are also displayed in the Activities card on the Device Summary page. Refer to Activities.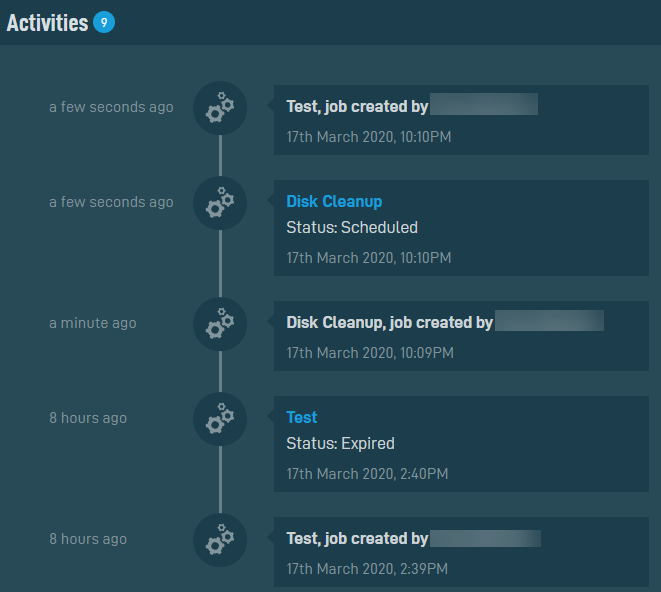
Click a hyperlinked job name to be directed to the Job Details page. Refer to Job details - New UI.


