Users
SECURITY Administrator
NAVIGATION Setup > Users
Users in Datto RMM are individuals with a user account. You can add and manage users and review the user activity log on the Setup > Users tab.
On this tab, you can toggle between two views as follows:
- The Users view displays a list of all users that have been set up in your Datto RMM account. Here, you can add and manage users.
- The Activity Log view is a log of all user activities performed in the current UI, the New UI, and the Agent Browser. You can view, filter, search, and export the log or parts of it. Refer to User activity.
By default, the Users view is displayed.
How to...
The following information is displayed:
| Field | Description |
|---|---|
| Selection check box | Click the check box in the header row to select all rows, or click one or more rows to perform an action. |
| Username | Click the hyperlink of the user's name to open the User Details page for that user. Refer to Edit a user. |
| Name | First and last name of the user. |
| Deactivation | Indicates whether the user account is set to expire on a certain date at a certain time. Refer to Deactivation. |
| Security Levels | Lists all security levels that are associated with this user. |
| Component Level | Determines which components can be viewed by the user. Refer to Component Level. |
| Administrator | A toggle that will instantly add or remove the user's Administrator access. Refer to Security levels. |
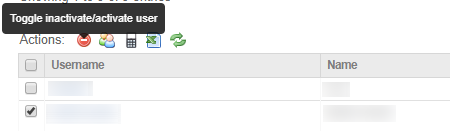
The following Action bar icons are available:
| Icon | Name | Description |
|---|---|---|

|
Toggle inactivate/activate user | Refer to Inactivate or activate a user. |

|
View user activity | Select one or more users and click the icon. You'll be directed to the User activity page. |

|
Export to CSV | Allows you to export a list of the selected users and their attributes in .CSV format. Make sure to select/deselect the columns you want to include/exclude in the export (all columns are selected by default). Passwords and API Secret Keys are not exported. NOTE Microsoft Excel is unable to properly display UTF-8 compliant CSV files when they contain non-English characters. |

|
Refresh | Refreshes the current view. |
- In the Search field, begin typing a Username or Name.
As you type, the search results are narrowed to match your search string.
- To display the full list, delete the search criteria.
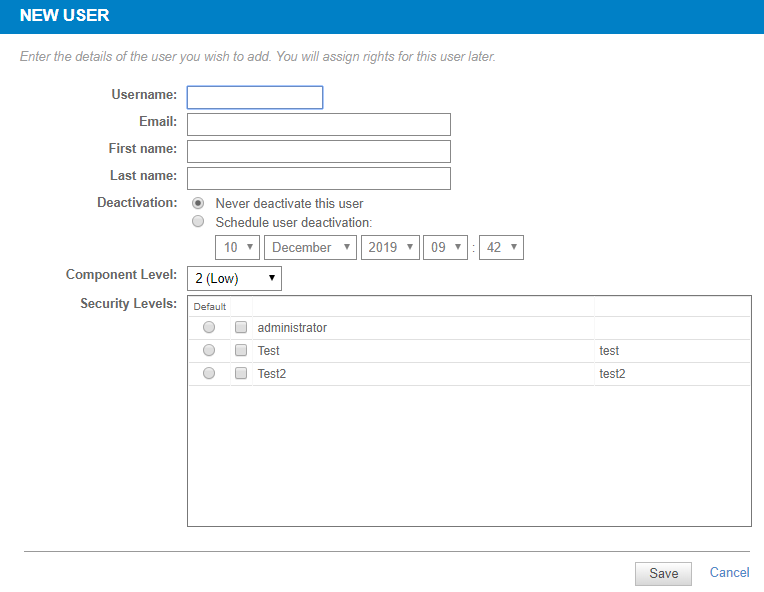
- Click New User.
- Fill in the following fields:

| Field | Description |
|---|---|
| Username | Enter a unique username, such as firstname.lastname@mycompany.com. The username must be unique not only on your platform but also across all platforms. Best practice is to use an email address. |
| Enter the user's email address. | |
| First name, Last name | Enter the user's first and last name. |
| Deactivation | Select one of the following options: • Never deactivate this user. • Schedule user deactivation: specify when you want the user account to expire. Select a date and a time. |
| Component Level | Determines which components the user can view in the Component Library. Refer to Managing components in the current UI and Component Library - New UI in the New UI. Select a number between 1 (Basic) and 5 (Super). EXAMPLE For example, a user who has a Component Level of 5 will be able to view all components within the Components tab, while a user with a Component Level of 3 will only be able to view components with a Component Level of 3, 2, or 1. |
| Security Levels | Select the user's default security level by clicking the radio button. The default security level will automatically be assigned to them when they log in to Datto RMM. You may assign a user more than one security level by selecting the check box next to another security level. This will allow them to switch between security levels in the Agent's menu options or within the Web Portal (current UI) using the security level drop-down menu next to their username. For more information on managing security levels and how to add new ones, refer to Security levels. |
- Click Save to create the user.
NOTE An email will be sent to the new user so that they can complete the login process.
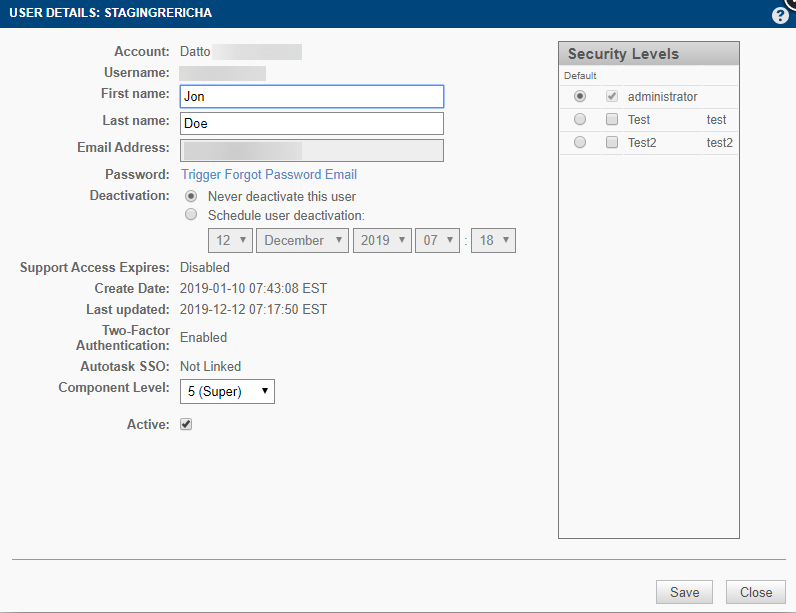
- Click the username of the user you wish to edit. The User Details page will open.
- Edit the user details. For field descriptions, refer to Add a user.
- If the user needs to reset their password, click the Trigger Forgot Password Email link. Refer to Trigger another user's password reset.
- View whether or not the user's Support Access is enabled and when it expires. Refer to Support Access.
- View the date and time that the user was created and last updated.
- View if two-factor authentication is enabled. Refer to Two-factor authentication.
- If your Datto RMM account has been integrated with Autotask PSA and the Single Sign-On (SSO) option has been enabled, the Autotask SSO field will be displayed on the User Details page to indicate whether the user account is Linked or Not Linked to a PSA user profile via SSO.
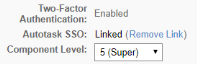

NOTE If you hover over the word Linked, the PSA user ID will be displayed.
To unlink the user account from the PSA user profile, click the Remove Link hyperlink.
For further information about SSO, refer to Configure SSO.
- If access to the Datto RMM API has been enabled for your Datto RMM account, you will see API-related fields on the User Details page. You can generate, regenerate, or delete the API keys. For more information, refer to Activate the API.
- To inactivate the user, clear the Active check box.
- Click Save to save the changes.
You have three options to inactivate or activate a user. Follow the steps of the first method below:
- Click the Setup tab.
- Click Users.
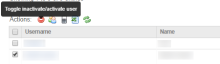
- Select the user(s) in question and click the Toggle inactivate/activate user icon from the Action bar.
- Confirm whether you want to inactivate / activate the user(s).
- If you have just inactivated the user, note the Inactive icon
 displayed next to the user's name.

You may also inactivate or activate a user by following these steps:
- Click the Setup tab.
- Click Users.
- Click on the name of the user you wish to edit.
- Clear or select Active in the User Details page.

- Click Save.
The third option is to inactivate a user on a certain date in the future. Refer to Deactivation.
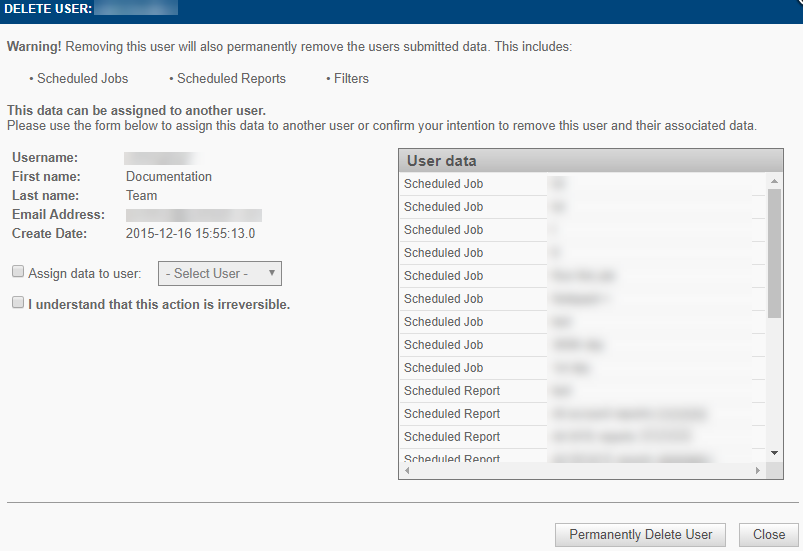
The Delete user  icon becomes visible when you hover over a user. Click the icon and a pop-up window appears that displays the user's details as well as a list of their associated data. Associated data includes scheduled jobs, scheduled reports, filters, tickets, ticket monitors, or ticket notes.
NOTE If at the time of deletion a Datto RMM user account is linked to an Autotask PSA user profile via the Autotask PSA Integration, the link will be removed. The Autotask PSA user can then link their user profile to another Datto RMM user account.
IMPORTANT The user's associated data will be permanently deleted unless it is first reassigned to another user. When reassigning associated data to another user, you may only select another user that has the same or a higher component level as you. This ensures that the user will have the required permissions to perform actions on the associated data being assigned to them.
Assign associated data to another user
Select the Assign data to user check box on the pop-up window, then select a user from the drop-down menu. 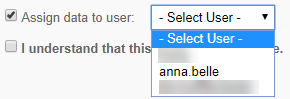
Select the I understand that this action is irreversible check box and then click the Permanently Delete User button. If the deleted user's associated data was reassigned, it will be available in the new user's account. Otherwise, it will be permanently deleted along with the user.


