Installing or uninstalling the iOS Agent
IMPORTANT The Mobile Device Management (MDM) feature is no longer available for new implementations. MDM-related documentation in the Datto RMM Help only applies to partners who are already using this feature; however, Datto no longer offers support for issues with MDM. Please note that if the Mobile Device Management component is deleted from your Component Library, you will not be able to download it from the ComStore again. For further information regarding this change, please refer to this Community post.
SECURITY Administrator
NAVIGATION ComStore > Mobile Device Management Extension
NAVIGATION Setup > Account Settings > Apple Push Certificate
About
The Datto RMM Mobile Device Management (MDM) service gives Datto RMM administrators the ability to roll out (enroll) and manage mobile devices from within the Datto RMM Web Portal.
Enrolling an iOS device requires either the execution of the device enrollment file (enclosed with the enrollment email), or scanning of the necessary site’s QR code.
Before starting, make sure to download the Mobile Device Management component from the ComStore. Refer to Mobile device management.
NOTE In case you choose to enroll your iOS device through the enrollment email, ensure that you have a native iOS mail client installed on the device.
Enrolling an iOS device is a two-stage process:
- In the first stage, you need to enable the Apple Push Certificate in your account. Refer to Set up the Apple Push Certificate.
- In the second stage, you need to install the enrollment profile on your device. Refer to Install the Agent using the QR code (preferred method) and Install the iOS Agent via email.
Supported versions
For information on supported iOS versions, refer to Operating systems.
How to...
- Once the MDM extension has been downloaded, navigate to Setup > Account Settings in the Datto RMM Web Portal.
- Scroll down to the Apple Push Certificate section and download your Certificate Signing Request by clicking on *_Apple_CSR.csr.
- Click the Apple Push Certificate Portal link.
- Sign in with an Apple ID.
NOTE Remember to make a note of the Apple ID used in the Apple Push Certificates Portal as you will need this ID when renewing your certificate.
- Click the Create a Certificate button.
- If you have read and agreed to the terms and conditions, select the check box and click Accept.
- Click Choose file to browse the Certificate Signing Request that you downloaded in step 2.
- Click Upload to create your new Apple Push Certificate.
- You will now see a confirmation message. Click on the blue Download button to save the Apple Push Certificate to your computer.
- Go back to the Datto RMM Web Portal and in the Apple Push Certificate area, click Choose file and browse to the Apple Push Certificate (.pem file) that you downloaded in step 9.
- Click Upload.
- Once you have successfully uploaded the Apple Push Certificate, a confirmation message will be displayed on the top of the page in the Web Portal confirming that you can now start enrolling your device.
IMPORTANT Always renew your Apple Push Certificate in the Apple Push Certificates Portal. Do not replace it in the Datto RMM Web Portal as it will cause device re-enrollment.
- In the Datto RMM Web Portal, navigate to Setup > Account Settings.
- Scroll down to the Apple Push Certificate section.
- Select the check box to renew your certificate and download your Certificate Signing Request by clicking on *_Apple_CSR.csr.
- Click the Apple Push Certificate Portal link.
- Sign in with the Apple ID used at the time of creating your original Apple Push certificate.
- Click the blue Renew button.
- Click Choose file to browse the Certificate Signing Request that you downloaded in step 3.
- Click Upload to renew your Apple Push Certificate.
- You will now see a confirmation message. Click on the blue Download button to save the Apple Push Certificate to your computer.
- Go back to the Datto RMM Web Portal and in the Apple Push Certificate area, click Choose file and browse the Apple Push Certificate (.pem file) that you downloaded in step 9.
- Click Upload.
- Once you have successfully uploaded the Apple Push Certificate, its expiration date will be updated in the Apple Push Certificate section.
- A confirmation message will be displayed on the top of the page confirming that you can now start enrolling your device.
- Download and install the CentraStage MDM app from the App Store.
- Launch the Datto RMM Web Portal.
- Open the site the device will be associated with.
- Click on the site QR Code icon
 found in the top right corner of the Site Summary tab. The QR code will appear.
 - Open the CentraStage app on the mobile device.
- Click the cog icon.
- Click Open Scanner.
- Hover the camera over the QR code until the code is read successfully.
NOTE The device will be added to the site and audited automatically.
For devices running iOS version 12.2 or later, the device will not be added to the site and audited automatically. You must perform the additional steps below:
IMPORTANT If these additional steps are not performed, the CentraStage app will not connect to the device, and you will need to reinstall the app and perform these steps again.
- Observe as the configuration profile is downloaded.
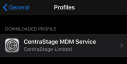
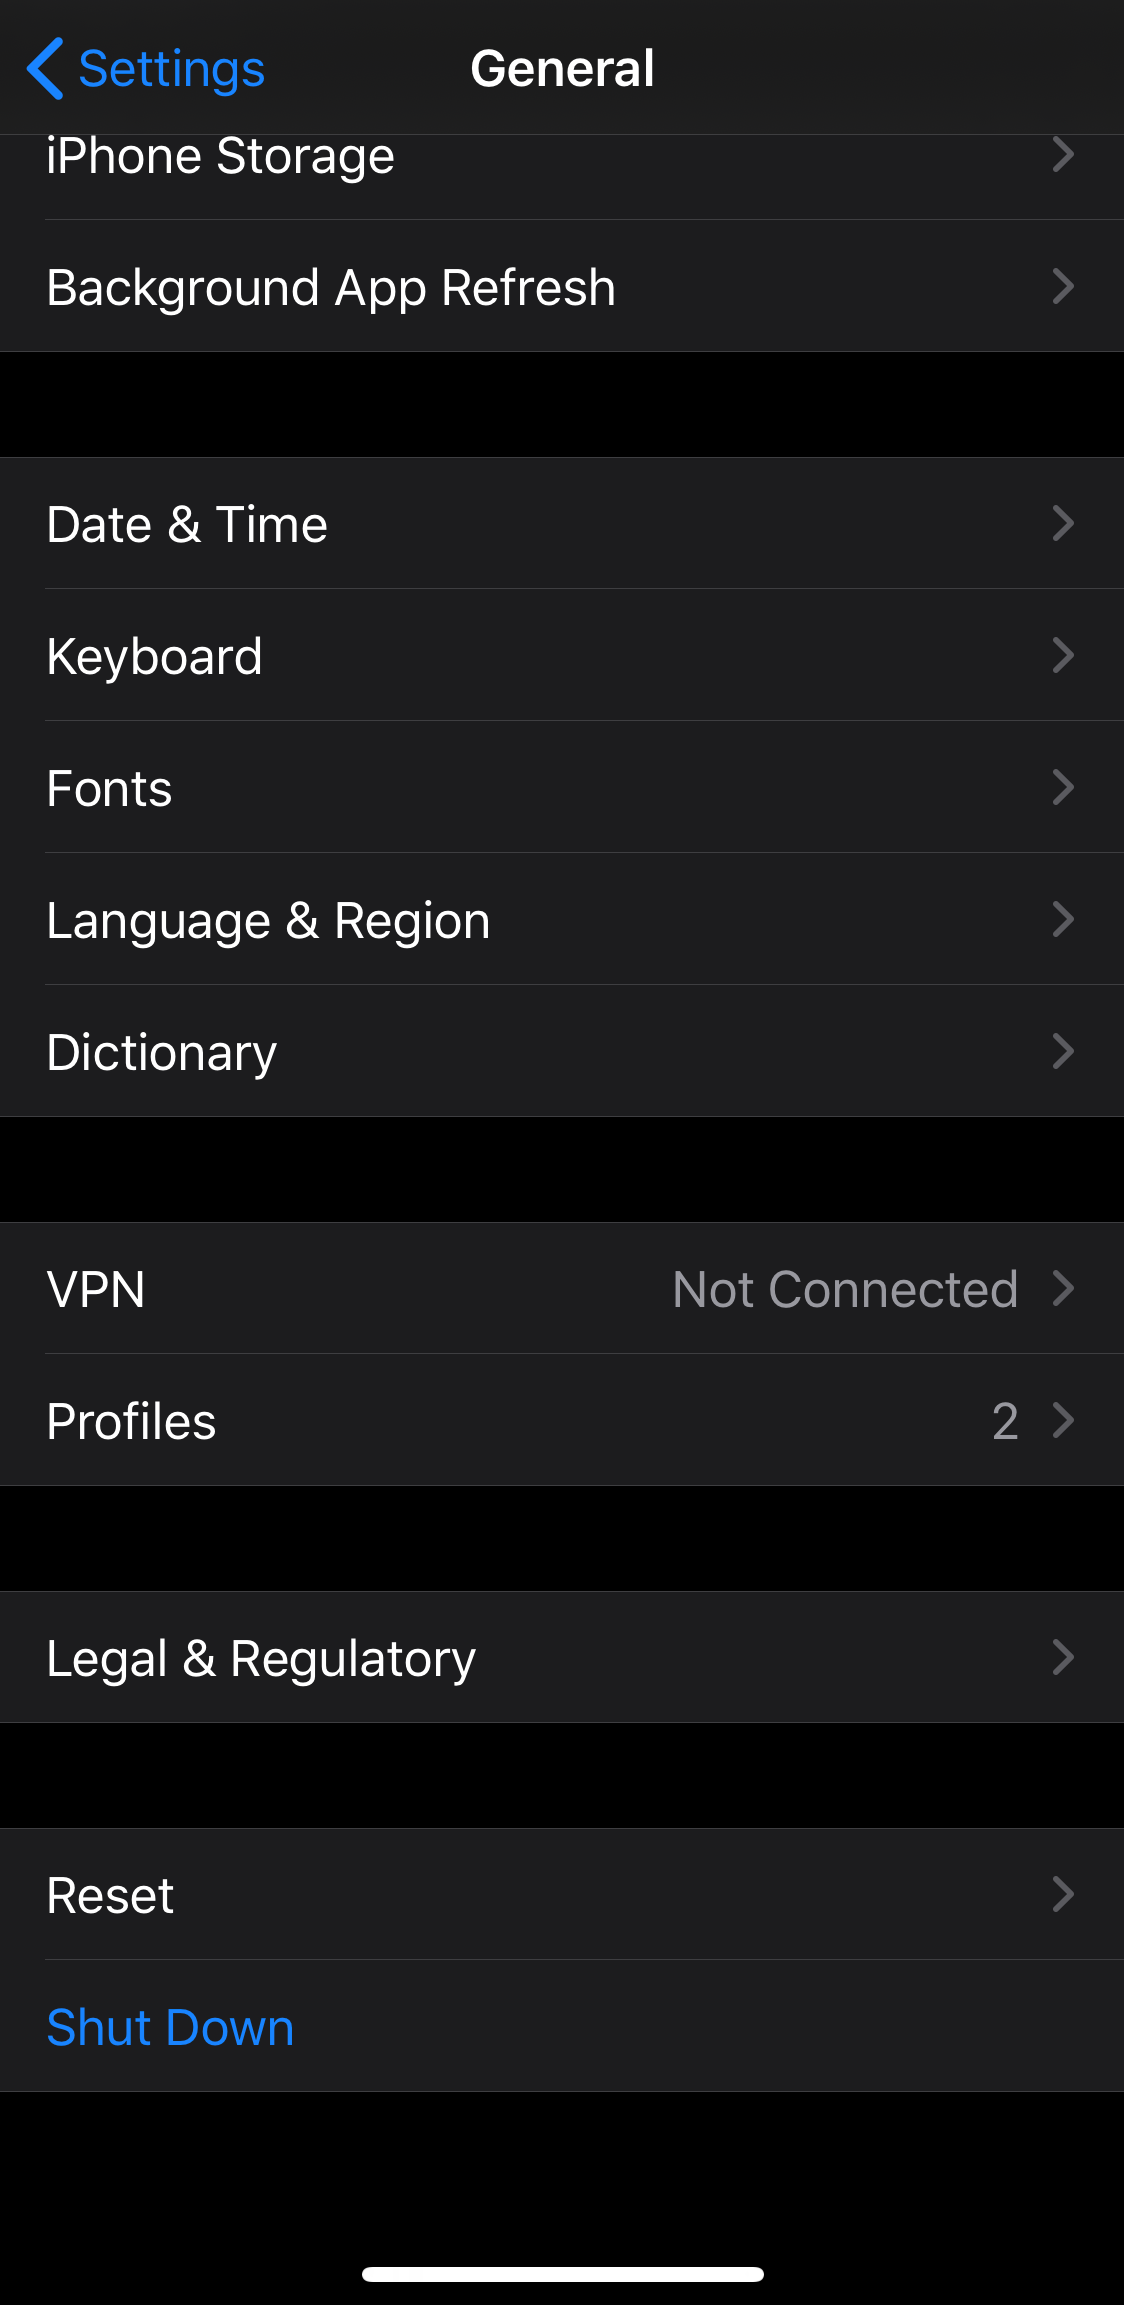
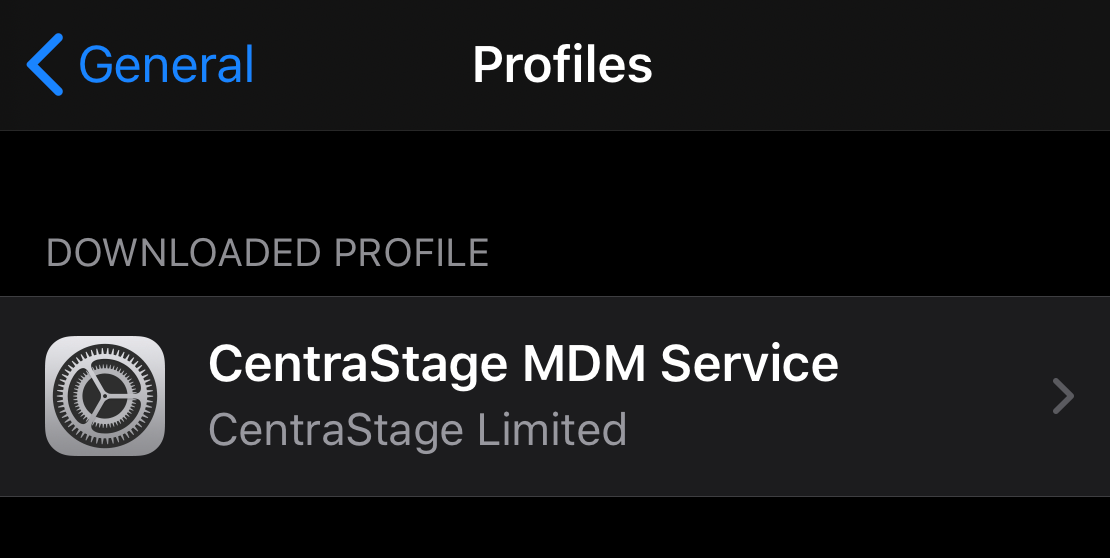
- Navigate to Settings > General > Profile and select CentraStage MDM Service.
- Install the profile.
- Return to the CentraStage app and observe that it is connected to the device.
- Refer to the steps outlined in Downloading or emailing the Agent installer.
NOTE The iOS icon is only visible if you have downloaded the Mobile Device Management Extension. Refer to Mobile device management.
- Download the CentraStage MDM app from the App Store.
- Add one or more email addresses you want to send the Agent installer to. For multiple addresses, separate the addresses with a semicolon. Alternatively, you can download the file for use when mass-enrolling iOS devices with Apple Configurator.
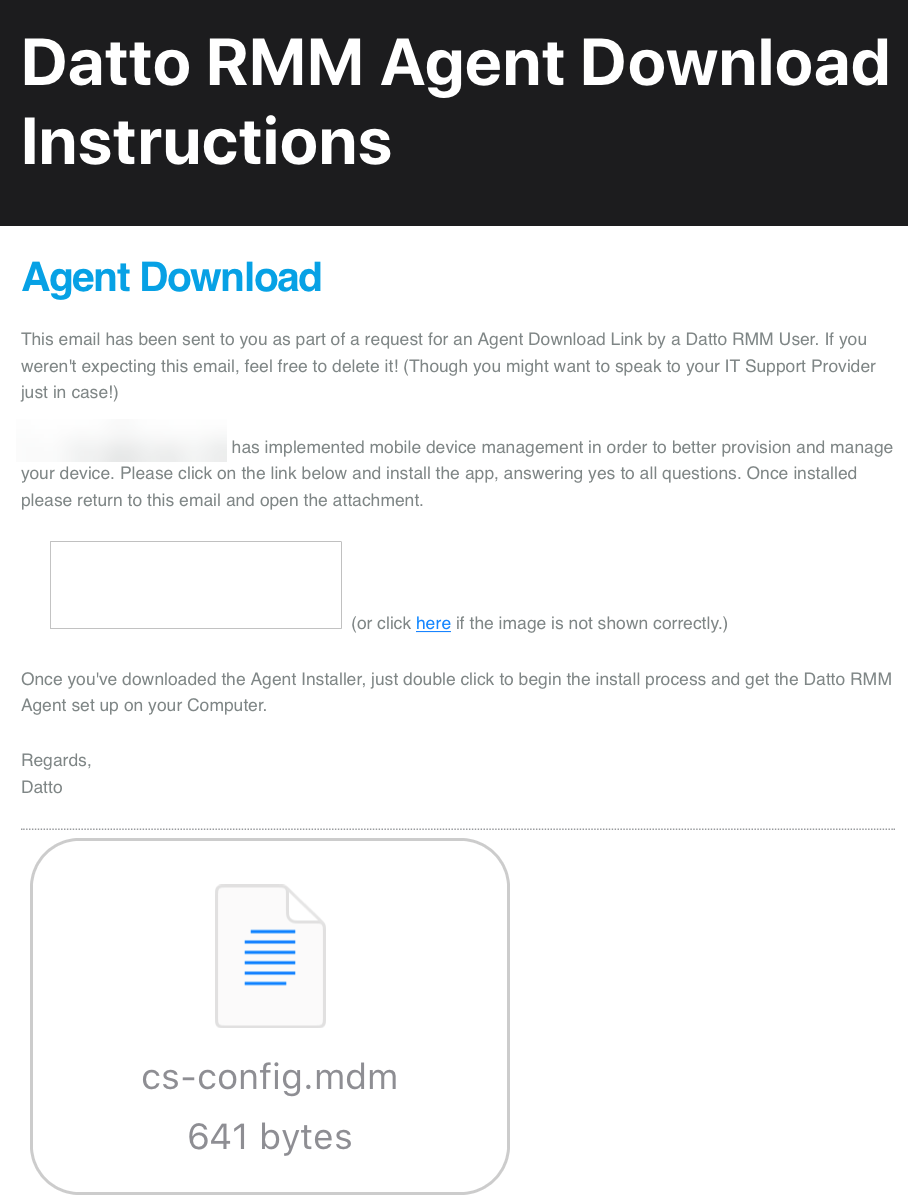
- Once you have emailed the .mdm file to the iOS device, click the file in the email.

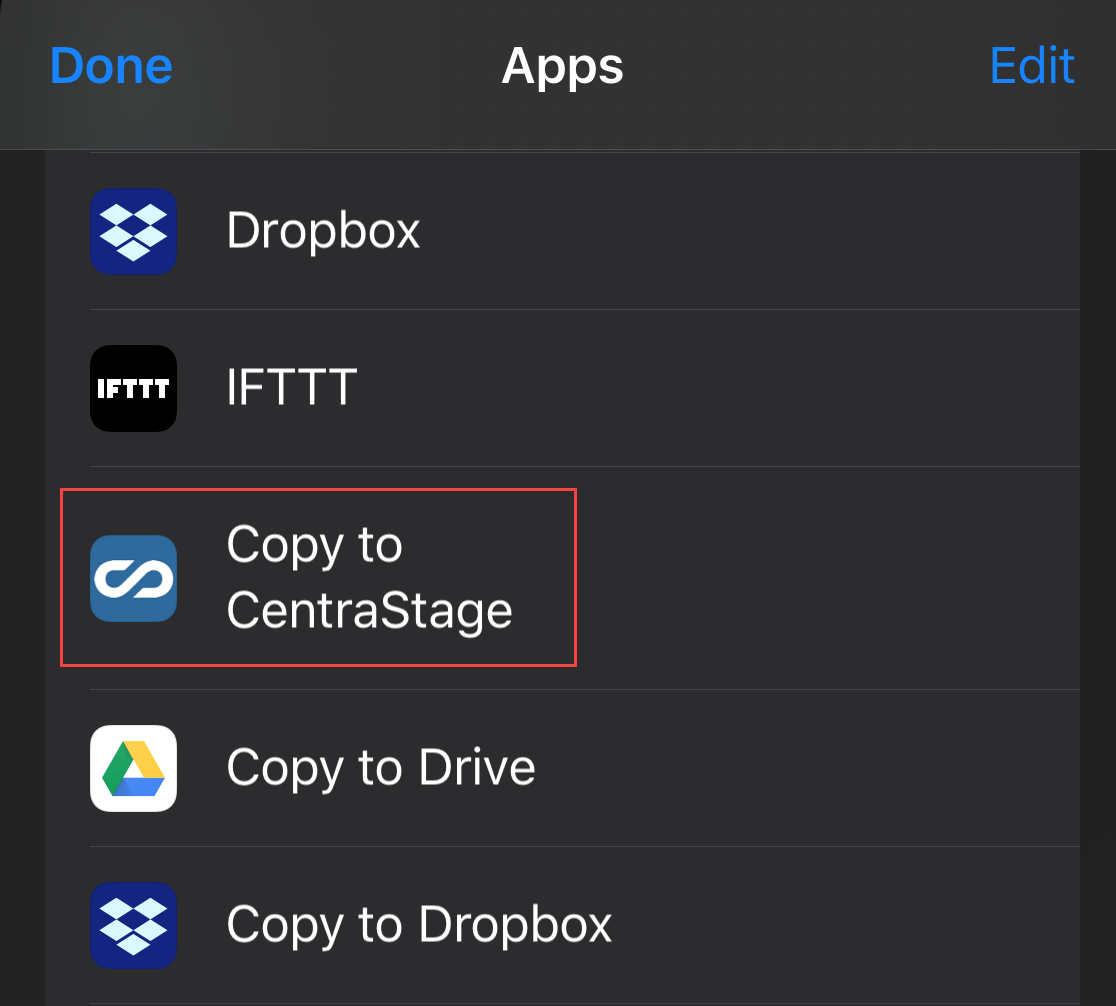
- Click the Share Sheet icon (square with arrow) in the upper right after the file opens. The Share Sheet window will appear. Click More and then click Copy to Centrastage.

- When prompted, click Allow to allow the download. Once the profile is downloaded, click Close at the confirmation dialog.
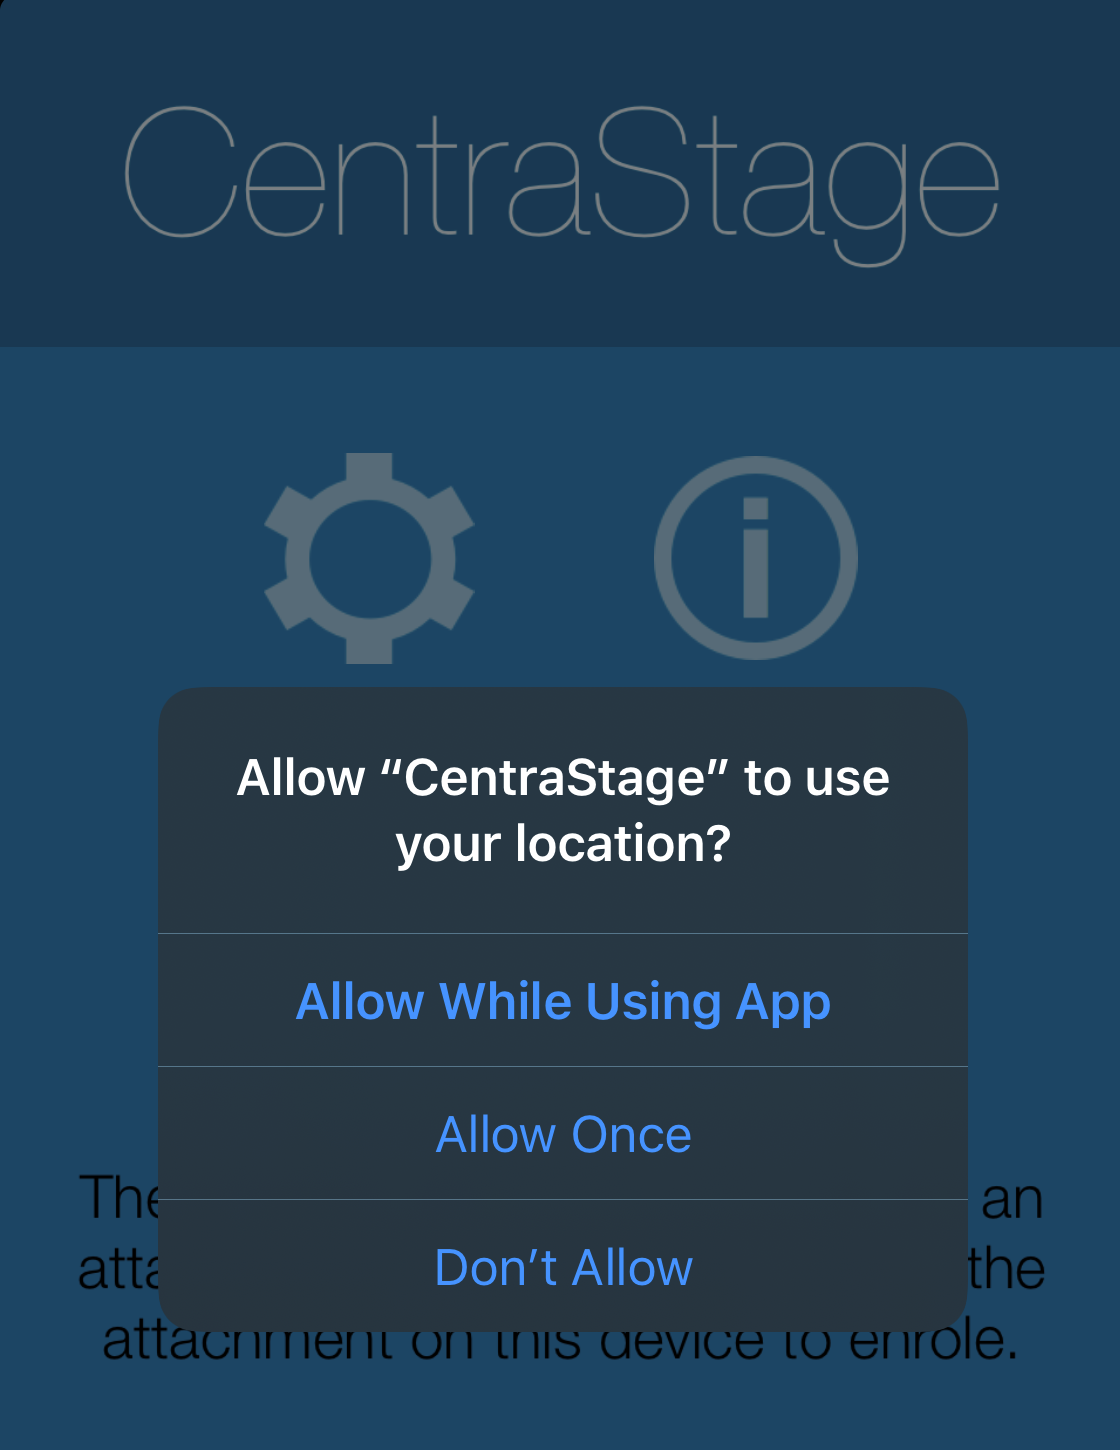
-
You will be directed to the CentraStage App, where you may be prompted to allow location information sharing.

-
Navigate to Settings > General > Profiles or Settings > General > Device Management (depending on whether you have other profiles installed, it may be listed in either location).

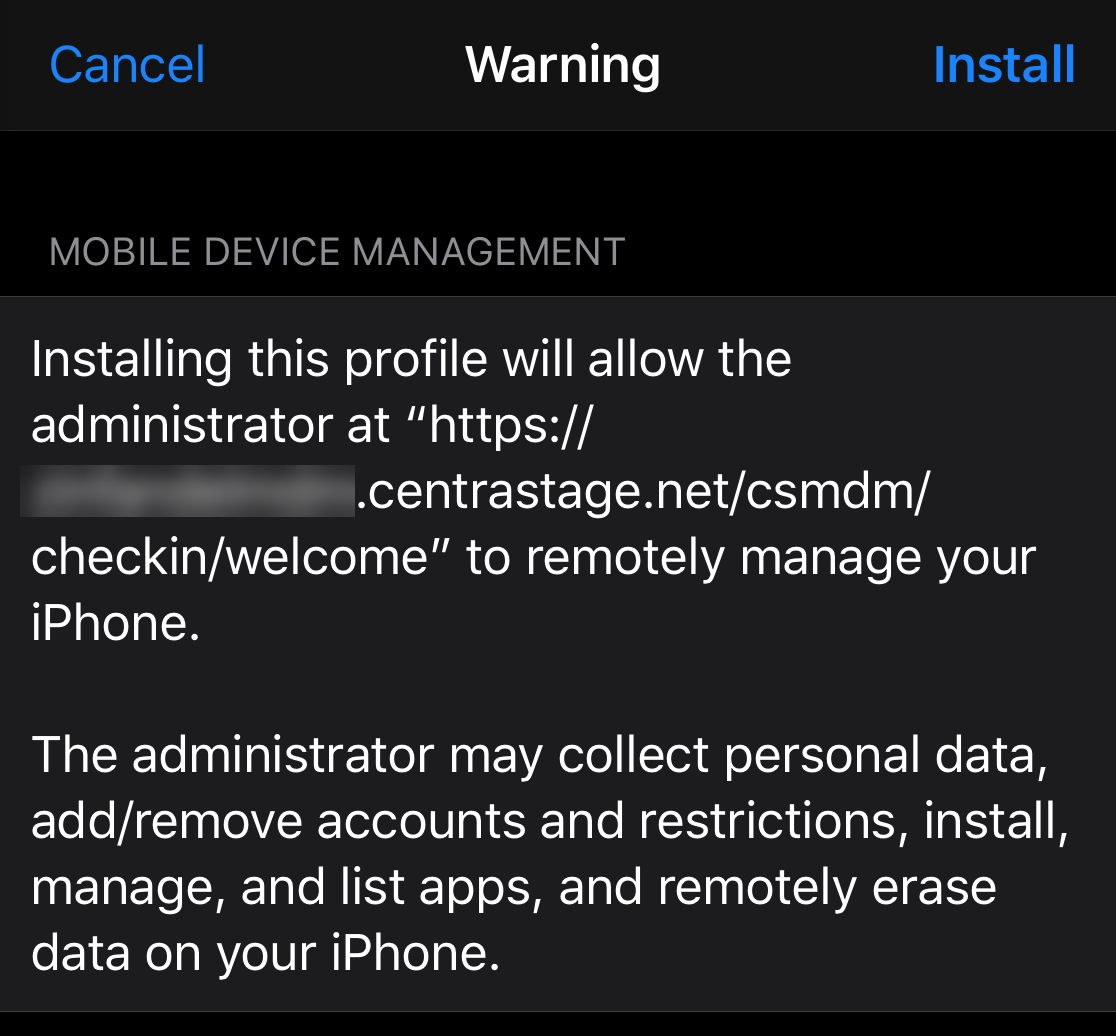
- Click CentraStage MDM Service to open the profile.
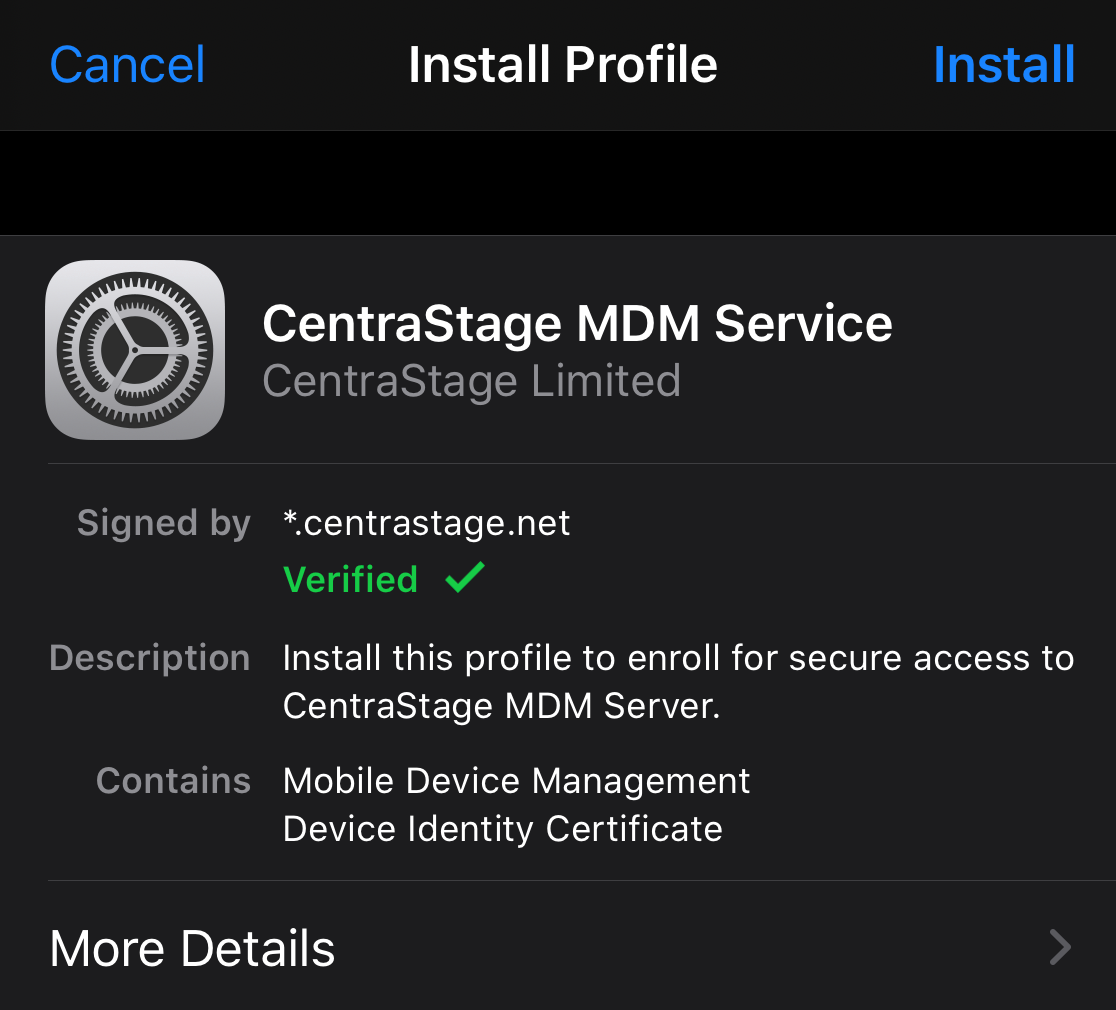
- On the Install Profile page, click Install.

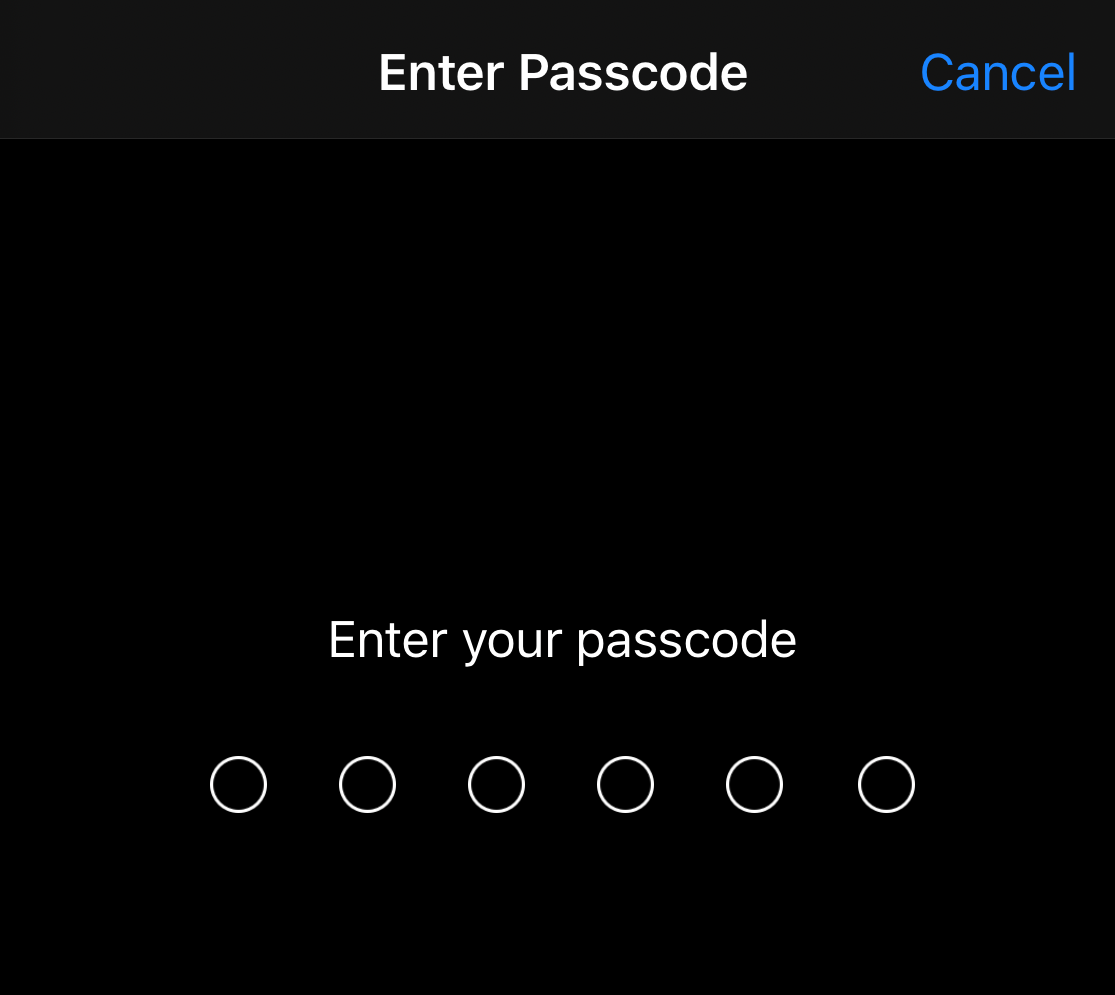
- Enter your iOS PIN to continue with installation.

- Click Install again at the confirmation screen.

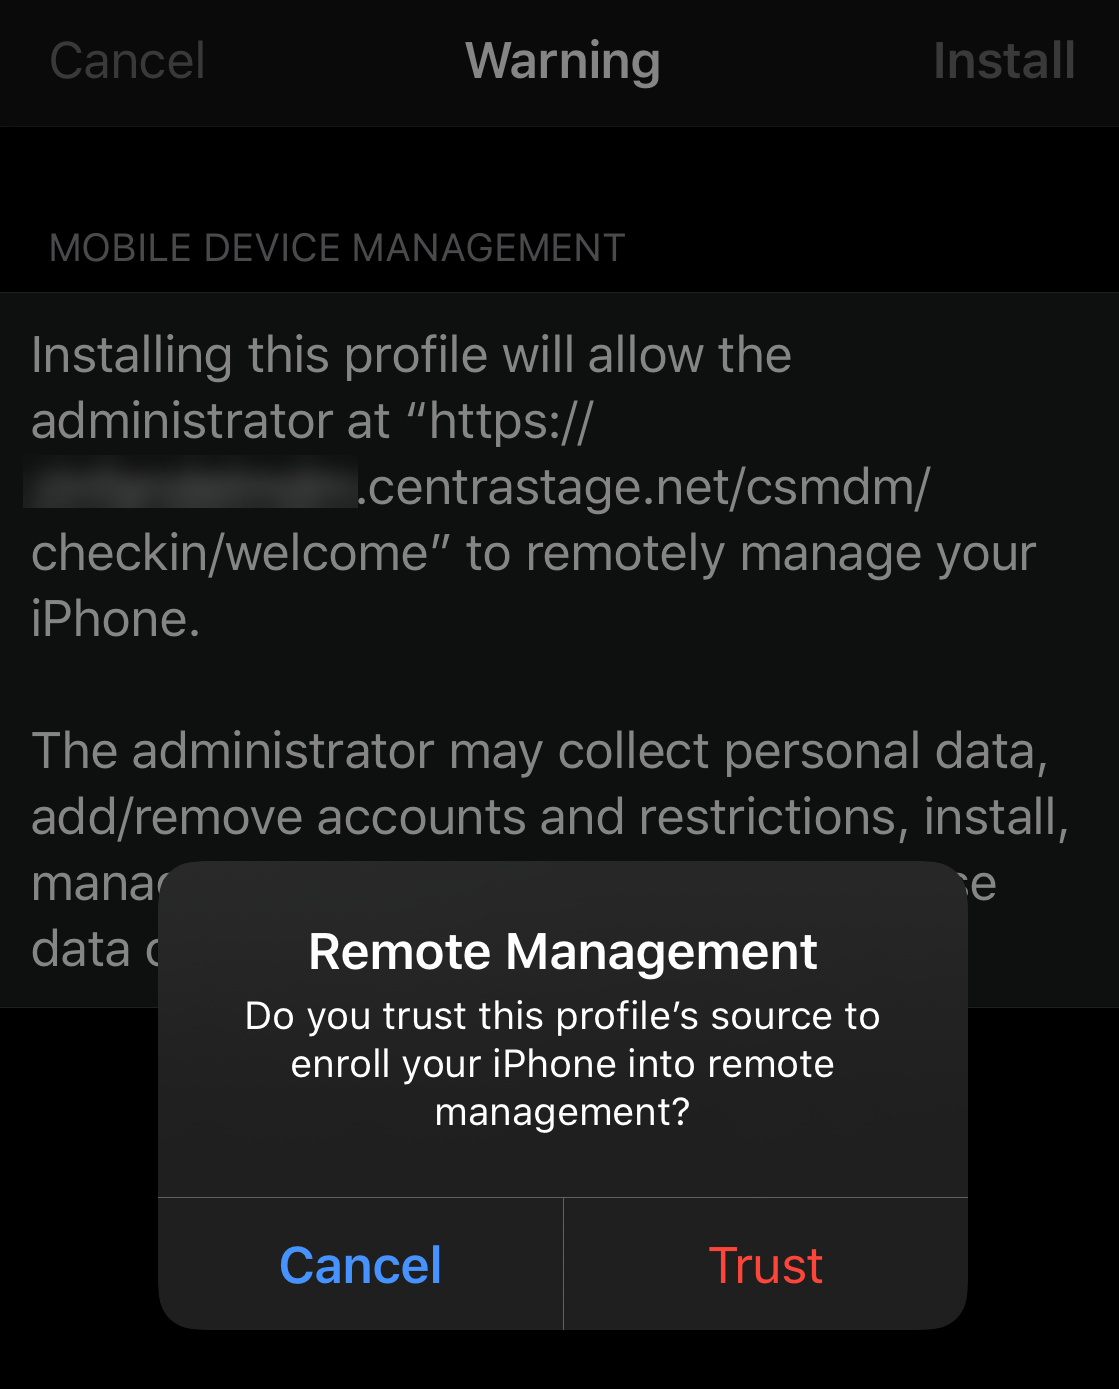
- When prompted, click Trust to trust the profile.

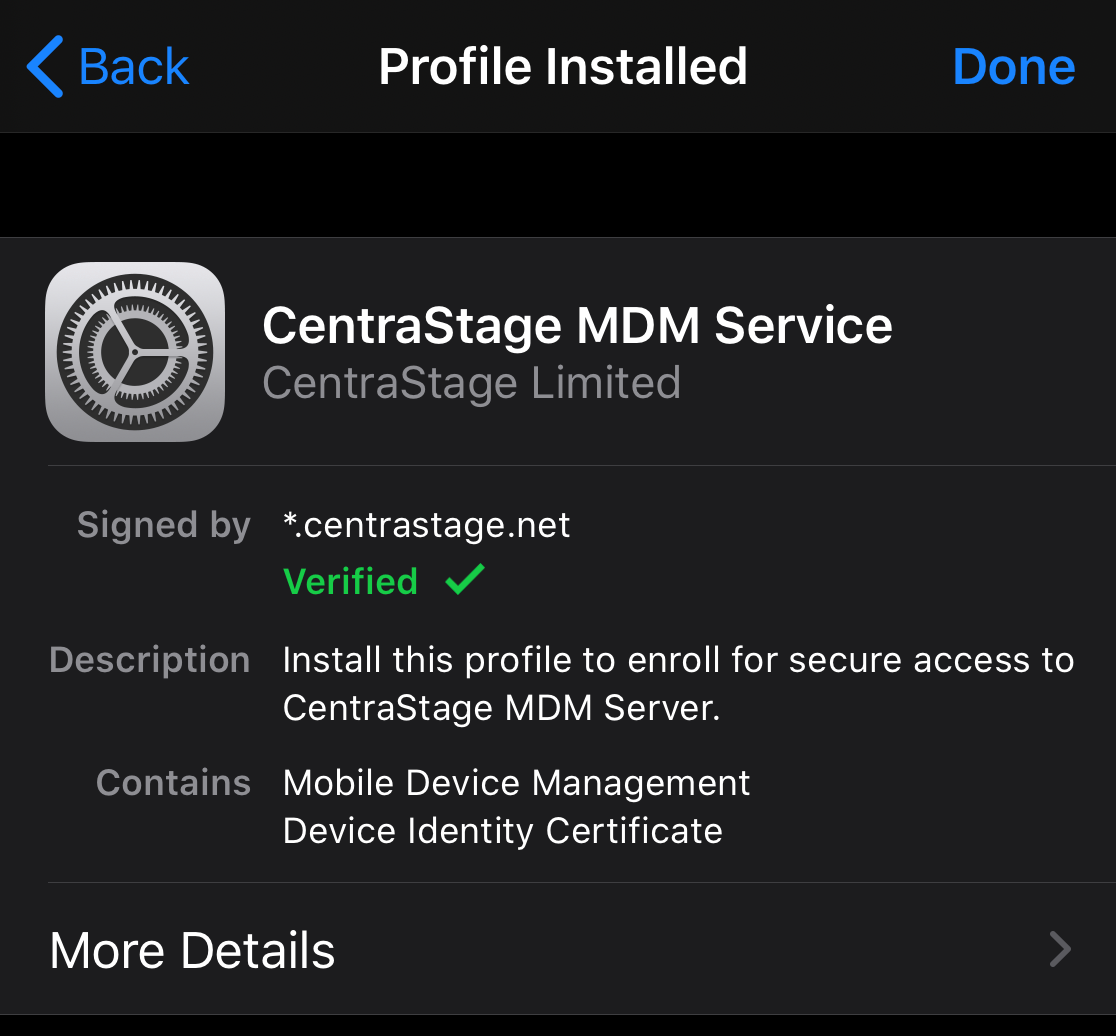
- On the Profile Installed page, confirm that the profile is now installed and trusted on this device.

-
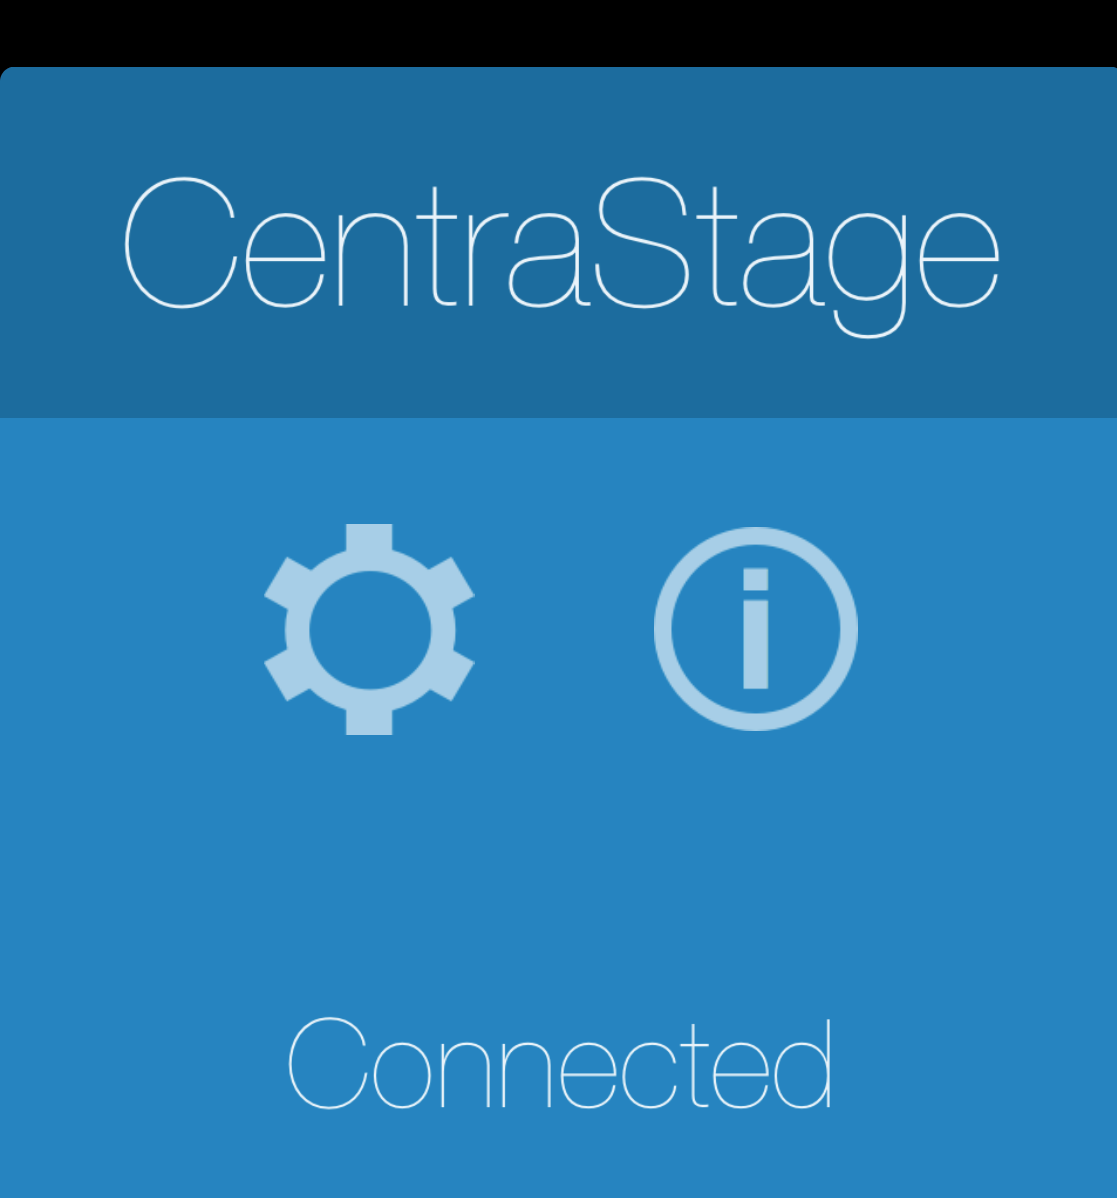
Return to the CentraStage app and confirm that the status appears as Connected.

- The iOS device will now appear in Datto RMM within its associated site.
- Delete the device from the site in the Web Portal. It will be placed into the Deleted Devices site until the remote Agent disconnects and uninstalls. To force immediate deletion, under Manage Deletions, select the device and click Delete device(s). Refer to Deleting devices.
- On your iOS device, navigate to Settings > General > Device Management.
- Locate the Datto RMM site and click Remove.
NOTE Apple gives any user the ability to remove MDM profiles from any iOS device.


