Creating a site - New UI
SECURITY Refer to SITES > Sites in Security Level Details - Permissions
NAVIGATION New UI > Sites > All > Create Site
Creating a Site
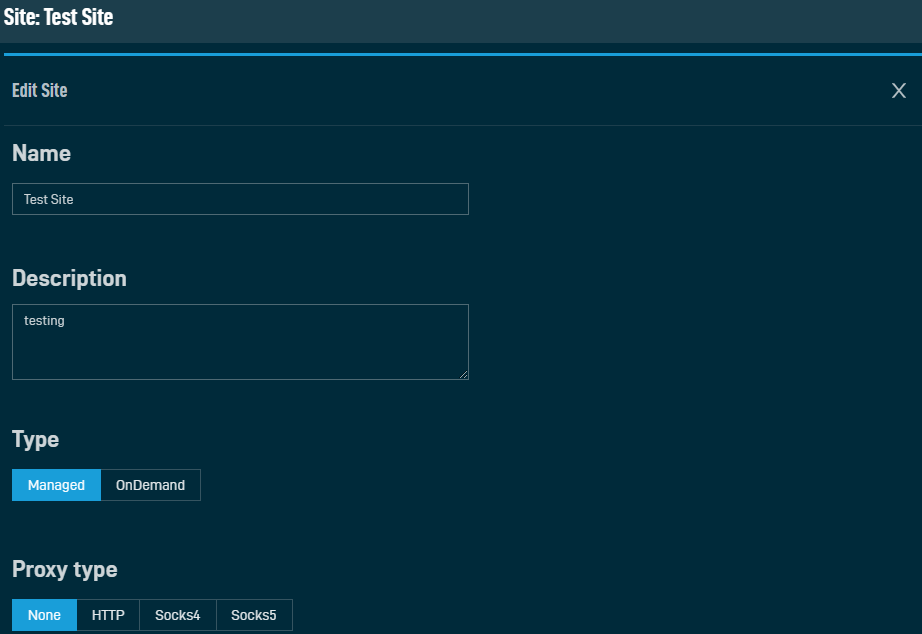
Enter a name for the site.
NOTE The Name field has a limit of 255 characters.
Enter a description for the site.
Select Managed or OnDemand for the site type. Refer to Site types.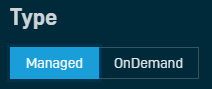
IMPORTANT Switching a site to OnDemand will cause all current and future Agents in this site to enter the OnDemand state. Agents will only connect once every seven days to update their audit data and cannot be targeted by monitors, policies, or jobs. A remote user can use an OnDemand Agent to request support. For more information, refer to Managed and OnDemand Agents.
Select None if you do not wish to use a proxy for this site. Select HTTP, Socks4, or Socks5 if the devices you're going to install an Agent on within this site will use a proxy server to connect to the Internet. 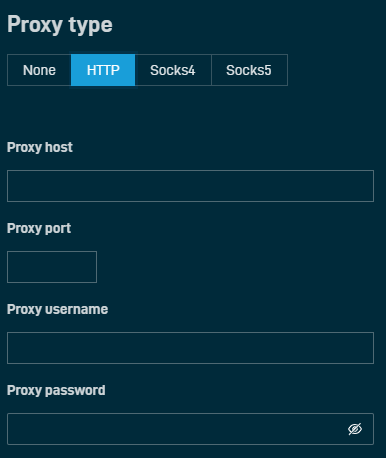
For Proxy Types other than None, complete the following fields as required by your proxy server to ensure the devices are already configured when you install the Agent: Proxy Host, Proxy Port, Proxy Username, and Proxy Password.
NOTE Site proxy settings will not apply to devices that had already been in the site before the proxy settings were configured. Existing devices with an Agent installed will need to be manually configured for the proxy.
For more information, refer to Proxy settings in Datto RMM.
Click the Add Security Level button to select the security levels for which this site should be accessible. Refer to Security levels. From within the Security Levels pane, click Add for each security level you wish to add for this site. When you are finished, click X to close the pane.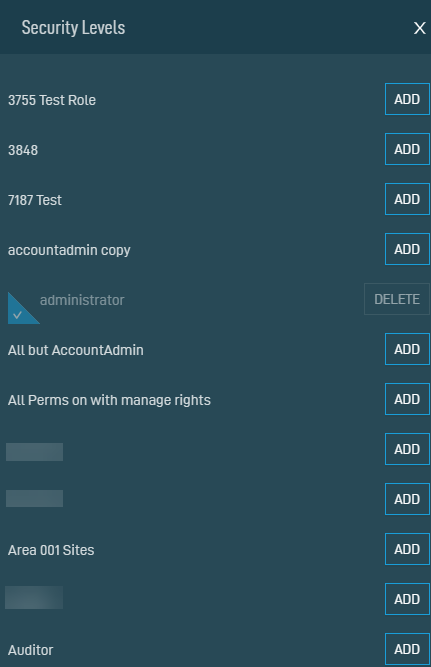
To remove a security level, select the Delete icon next to the security level you wish to remove.
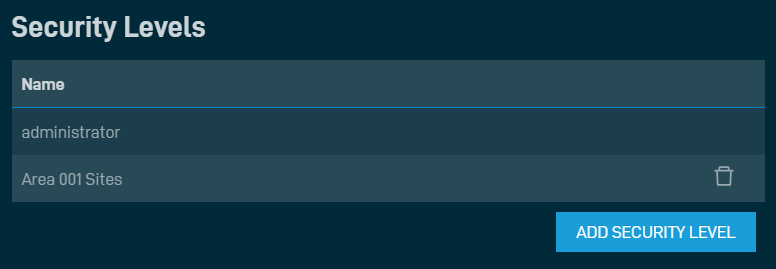
NOTE The administrator security level is added by default.
Click the Add Site Group button to select a Site Group the new site should be added to. This step is optional. Refer to Group types. From within the pane that opens to the right, click Add for each Site Group you wish to add this site to. When you are finished, click X to close the pane. 
To remove a Site Group, select the Delete icon next to the Site Group you wish to remove.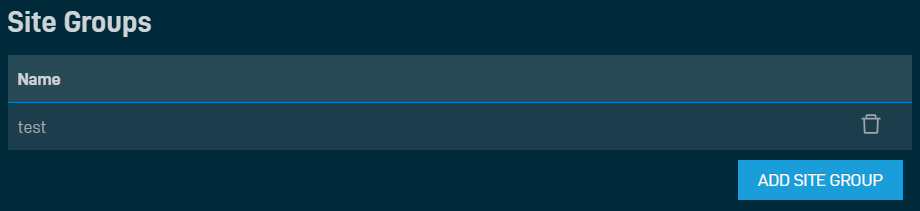
When you are finished, click Create Site.
NOTE The Create Site button will only become available once you have entered a name for the site.
A dialog box will confirm whether you wish to create this site. Click OK. A confirmation dialog box will confirm that the site has been created successfully. Otherwise, click Cancel to return to the Create a Site page.
Editing a Site
To update site details, click the Edit button on the Site Summary page. Refer to Create Site.