Licensing and billing
SECURITY Refer to SETUP > Billing in Security Level Details - Permissions
NAVIGATION Setup > Billing
About
On the Billing page, you can review the details of your Datto RMM account and access the Billing Portal to pay your invoices.
| Field | Description |
|---|---|
| Account Name | The name of the company Datto is billing for Datto RMM. |
| Account ID | The unique ID (identifier) of your Datto RMM account |
| Account Status | Indicates the status of your account: • Trial • Full • Expired • Suspended • Closed |
| Managed Devices | The number of managed devices used of your device limit. To learn how to self-provision additional licenses without contacting Datto, refer to Licenses - New UI. Alternatively, click the Request Subscription Increase link to increase the number of devices. A member of our Sales Team will contact you shortly. |
| OnDemand Devices | The number of OnDemand devices used. |
| Field | Description |
|---|---|
| View and Pay Your Invoices | Click this link to open the Autotask Billing Portal. Refer to View and pay your invoices. |
| Field | Description |
|---|---|
| Autotask Endpoint Management Invoices | Old invoices will still be available to view in the existing billing portal. New invoices and your account balance at the point of transition will be available in the Autotask Billing Portal and can be paid there. |
| Terms and Conditions | Click the link to open the Autotask Master Services Agreement. |
NOTE You can find the VAT number for your account and the billing email on the Setup > My Info tab.
How to...
- Log in to the Web Portal.
- Navigate to Setup > Billing.
- In the Billing Portal section, click View and Pay Your Invoices. The Autotask Billing Portal page will open.

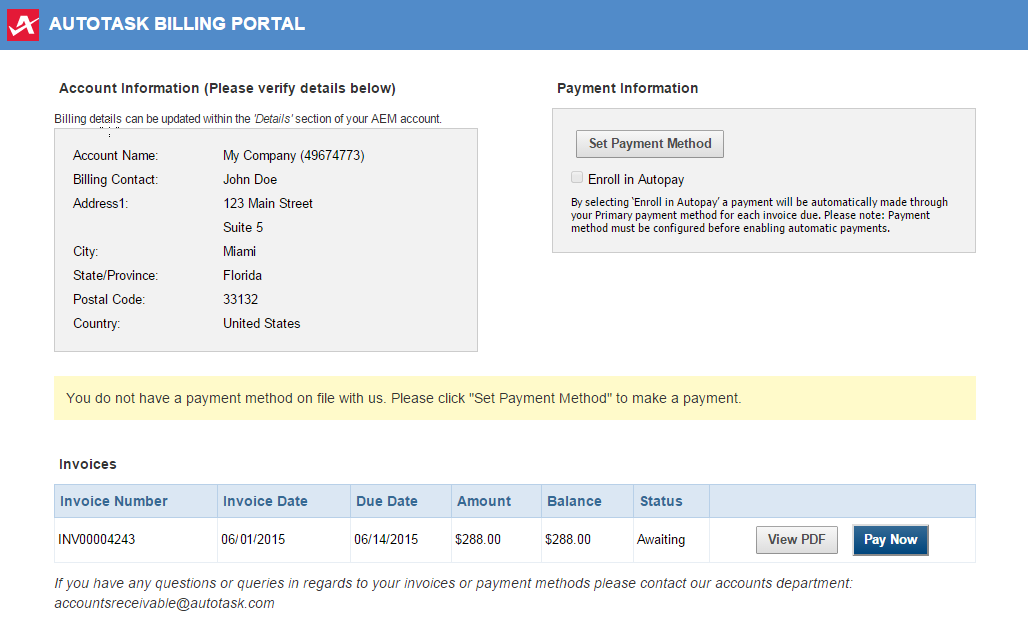
- Review your account information to make sure it is correct. You can update billing details on the Setup > My Info tab. Refer to Edit your user details.
NOTE Changes may take up to 72 hours to apply.
- If you have not yet configured a payment method, click Set Payment Method. The Payment Configuration page will open.

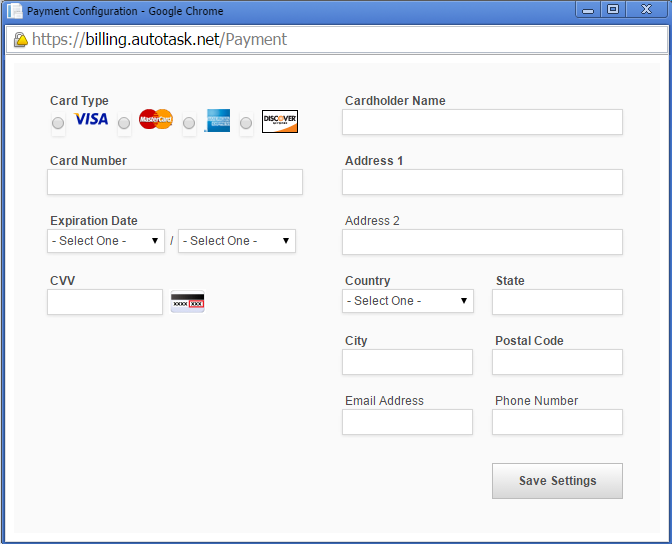
- Enter the required information and click Save Settings.
- Optionally, you can check Enroll in Autopay on the Autotask Billing Portal page. When Autopay is selected, your invoice will automatically be paid in full on the due date, using the credit card information you entered in the previous step.
Invoices are listed below the account and payment information. The invoice status can be Awaiting (that is, unpaid) or Paid.
- To view an invoice, click View PDF.
- To pay your invoice, click Pay Now.
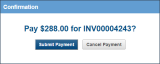

- In the Confirmation window, click Submit Payment. The status of the invoice is now updated to Paid.
NOTE Invoices issued prior to June 29, 2015 can still be viewed but cannot be paid here.
IMPORTANT You must pay your invoice within 30 days to prevent your account from being automatically suspended for non-payment. If your account becomes suspended due to overdue invoices, a notification will appear within your account. To reactivate the account, you must pay all outstanding invoices.
If you have additional questions about the invoicing process or an invoice, please contact the Autotask Accounts Receivable team.
You can self-provision additional licenses on the Licenses page in the New UI. Refer to Licenses - New UI.


