Web Remote
SECURITY Web Remote must be turned ON in Security Level Details - Remote Control Tools.
NAVIGATION Sites > select a Site > Devices > select a Device > Remote Actions > Web Remote
NAVIGATION New UI > navigate to a device via Dashboards, Devices, or Sites > Web Remote action button
NAVIGATION New UI > Devices > All > Web Remote action button
About
Web Remote is a browser-based HTML5 remote control technology, featuring fast connection times and is available as a remote action for online servers, laptops, and desktops.
IMPORTANT Web Remote sessions can be initiated from Windows, macOS, Linux, iOS, or Android devices using a recent version of the Chrome, Firefox, Edge, or Safari browser; no installed Agent is required. However, only Windows and macOS devices with an Agent installed can be controlled via a Web Remote session.
For Web Remote to function properly on macOS devices running Mojave or later, these applications must be listed and checked under System Preferences > Security & Privacy > Privacy in the following sections :
• Screen Recording: AEM Agent, Vine Server
• Accessibility: AEM Agent, Vine Server
• Full Disk Access: AEM Agent, Vine Server
File Transfer requires the Agent Process to be running using .NET Core.
Simultaneous connections from up to four users is supported for both Windows and macOS devices. Web Remote can be accessed from the Remote Actions section in the current UI or from the Device Summary page and the Devices page in the New UI. Refer to Remote Actions.
The Web Remote Process (RMM.WebRemote) runs alongside the Agent Process (AEMAgent). When a Web Remote session is established, a new Web Remote Process is created for that session. Refer to Initiate a Web Remote session.
Location of the Web Remote Process by operating system:
| Operating System | Datto RMM Agent Process |
|---|---|
| Windows | %ProgramData%\CentraStage\AEMAgent\RMM.WebRemote[version] |
| macOS | /usr/local/share/CentraStage/AEMAgent/RMM.WebRemote[version] |
On Windows, additional supporting Web Remote Processes are created, which run in different contexts. These are summarized below:
- Daemon: Runs in session 0 as SYSTEM at all times and controls all Web Remote sessions on a device.
- Interactive: Runs in an interactive session as SYSTEM and is responsible for screen capture and most of the desktop protocol handling.
- Graphics: Runs in an interactive session as the logged in user to access GUI elements, such the system tray icon and balloon notifications.
On macOS, the Interactive process is run in the same context as Daemon. The Graphics process is not run at all.
There are three auxiliary processes that support Web Remote sessions, a subset of which are run depending on the active protocol:
- RMM.RTO.Proxy: A proxy between AEMAgent and Ultra VNC on Windows or Vine VNC on macOS.
- RMM.RTC.Proxy: A proxy between AEMAgent and the WebRTC protocol.
- RMM.RTO.Quartz: A proxy between AEMAgent and the Quartz API on macOS.
Starting from Windows NT 6.2 (Windows 8/Windows Server 2012), a change in the Display Driver Model has permitted hardware acceleration when screen sharing. Using this technology in Web Remote where possible results in a marked improvement in the quality and responsiveness of the takeover session experience as compared to VNC.
Prerequisites:
- Windows NT 6.2 (Windows 8/Windows Server 2012) or above only. Windows NT 6.1 (Windows 7/Windows Server 2008 R2) or below must use VNC.
- The Datto RMM Agent Process must use .NET Core. Otherwise VNC must be used, even on Windows NT 6.2 and above.
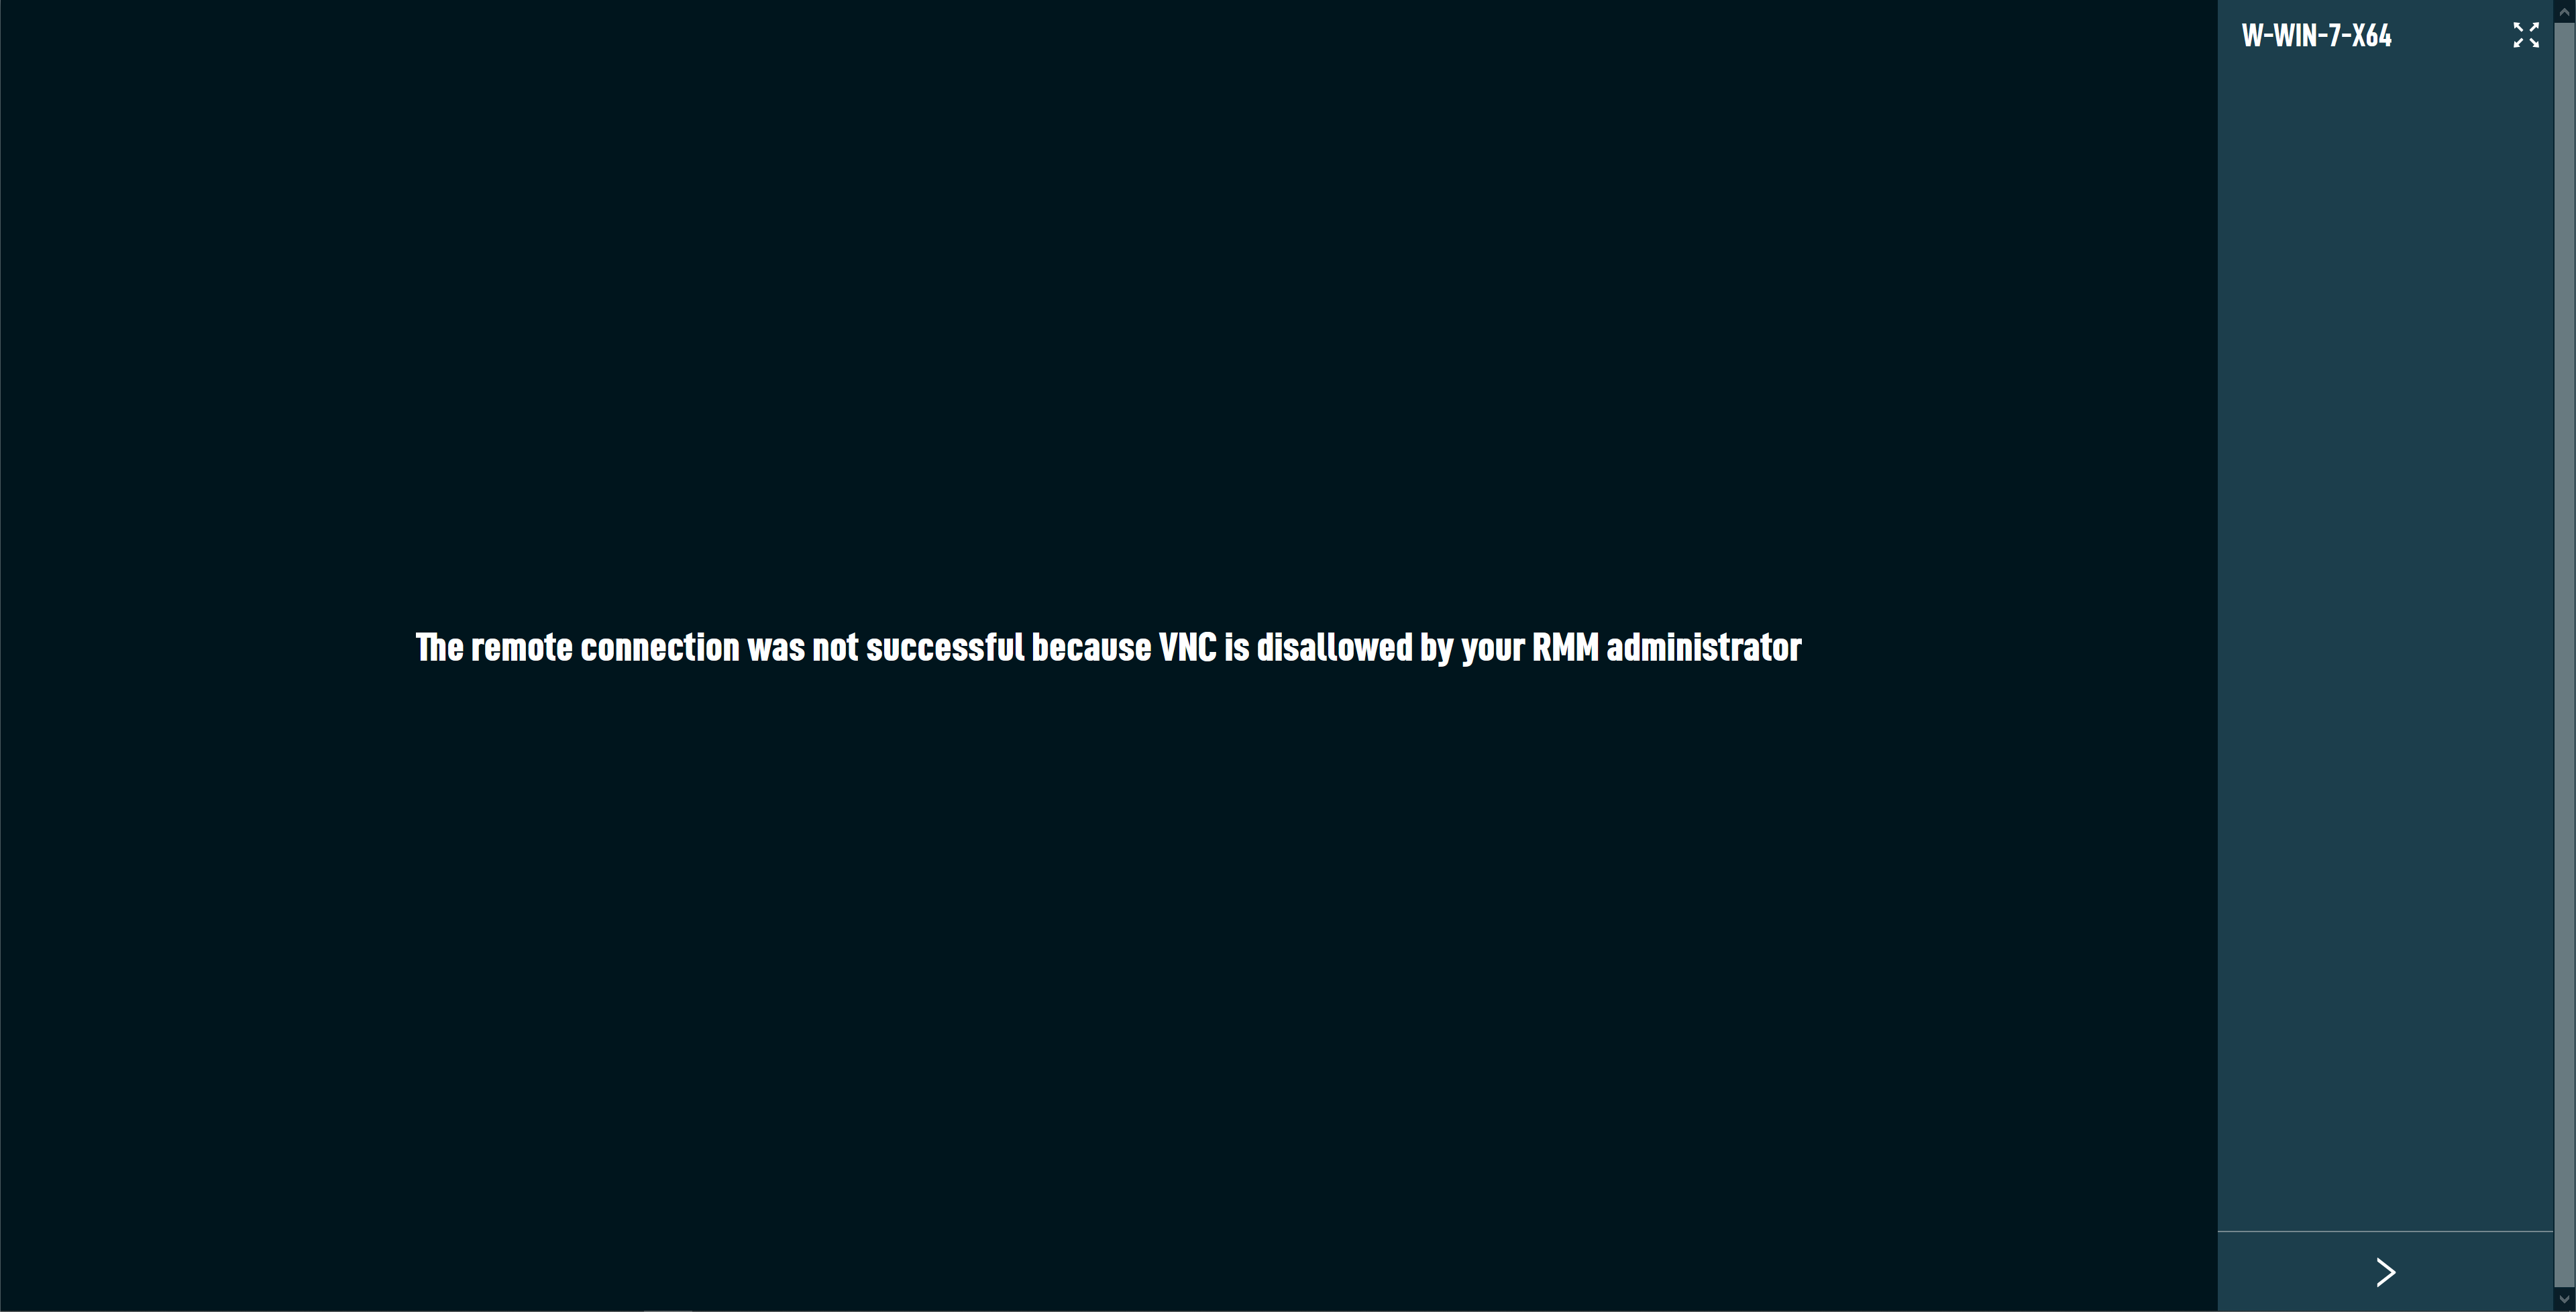
If VNC is disallowed on a target device, the VNC connection will fail. On Windows devices, you can control whether VNC is allowed globally or on a per-site basis. Refer to VNC Settings.
When Guest GPU Acceleration is active, the following will be displayed under the Connection section. Refer to Connection.
The Microsoft Desktop Duplication API is not supported to run on a discrete GPU on a Microsoft Hybrid system; it can only run on an integrated GPU. If this known issue occurs, "Cannot run Agent on guest GPU" will appear in the browser. Please refer to this Microsoft Support article for more information.
To switch to your dedicated GPU in order to use Web Remote, follow the steps below.
NVIDIA:
-
Open the NVIDIA Control Panel.
-
Navigate to 3D Settings > Manage 3D Settings.
-
Select the Program Settings tab and click the Add button.
-
Choose the RMM.WebRemote process (not AEMAgent) and then click Add Selected Program.
-
Select Integrated processor as the preferred graphic processor and then click Apply to apply the changes.
-
Open the Radeon Settings panel.
-
Navigate to System > Switchable Graphics.
-
Navigate to the RMM.WebRemote process (not AEMAgent) in the list, select it to open its drop-down menu, and select Power Saving.
-
Observe that changes will take affect the next time Web Remote is started.
NOTE In the Switchable Graphics menu, the Running Applications tab is displayed by default. This view lists recent and current running applications and their assigned mode.
WebRTC is an open framework that enables Real-Time Communication (RTC) capabilities in the browser. Web Remote leverages this technology to allow a fast peer-to-peer (P2P) connection to be established between devices if available. If a P2P route is not possible, WebRTC will fall back to a relay connection via the platform.
For additional reliability, a WebSocket connection is automatically attempted in parallel with a WebRTC connection, and WebSocket and WebRTC connections are retried on an interval basis. If WebRTC fails to connect but WebSocket succeeds, the WebSocket channel is used for communication, and if WebRTC succeeds but then disconnects in the middle of the session, an automatic failover to the WebSocket channel occurs without the user experiencing a disconnect. If WebSocket fails to connect and WebRTC succeeds, WebRTC is used. WebRTC is always preferred over WebSocket, whether the connection is P2P or Relay.
The following will be displayed under the Connection section. Refer to Connection.
The connection type can be one of the following:
-
WebRTC (P2P)
-
WebRTC (Relay)
-
WebRTC (Relay, TLS)
-
WebRTC
-
WebSocket (Relay)
How to...
IMPORTANT Port 3478 (UDP) must be open in order to connect via Web Remote. Refer to Web Remote communication.
- Navigate to a device in either the Web Portal or the New UI using any of the navigation paths above and select the Web Remote action.
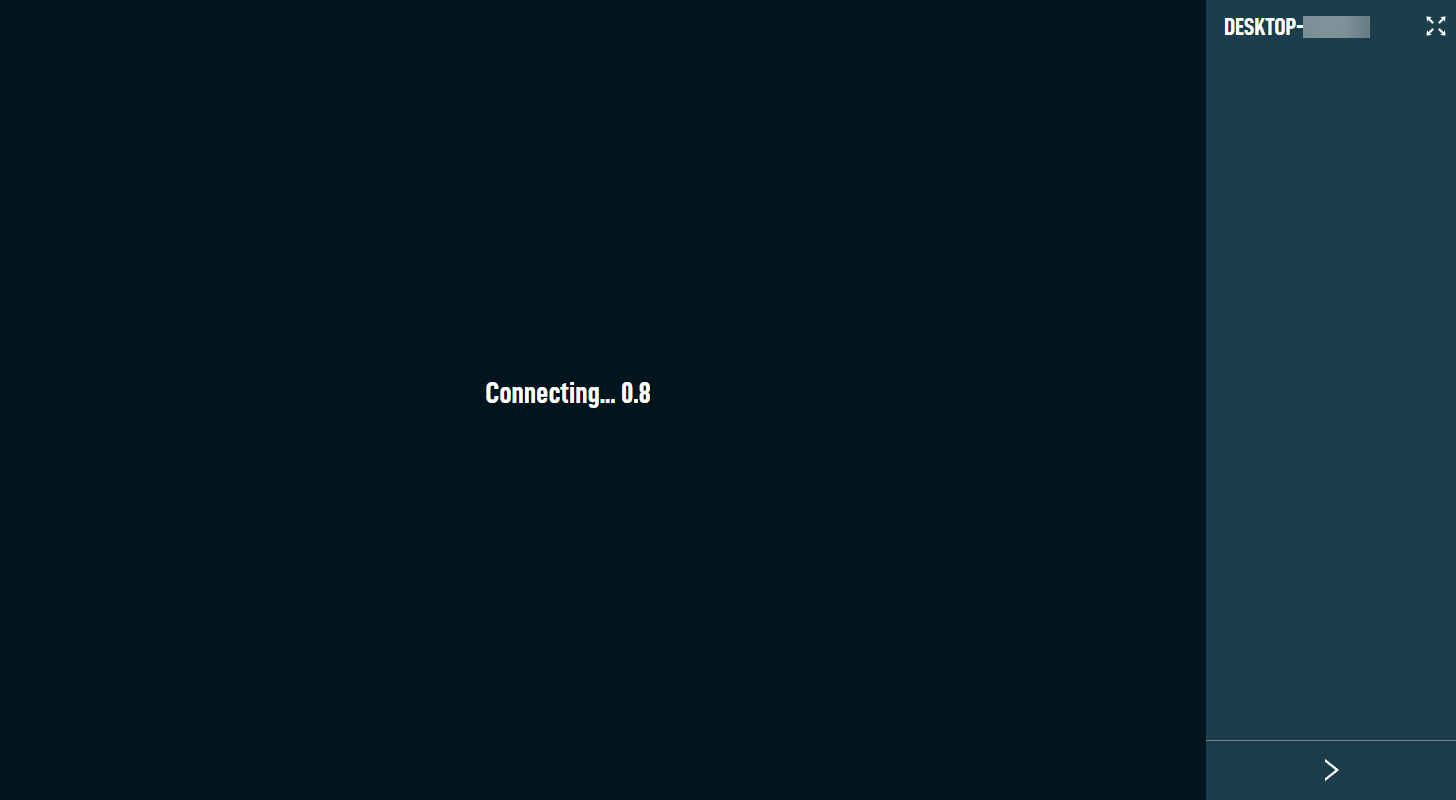
Refer to Multi-session support for information about initiating a Web Remote session on multi-session devices. - Observe that a new browser tab opens and the Connecting screen displays. The connection time will show the time it took to connect to the remote device.
-
Observe the pop-up notification that appears as the session is being established. This notification will display for 30 seconds before disappearing.
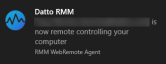
NOTE Notifications must first be enabled under System > Notifications & actions (Windows devices only).
Refer to Privacy Mode considerations for more information about connecting to an end user's device when they have Privacy Mode enabled.
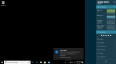
- Once the connection has been established, the browser tab will display the name of the remote device you are connected to, and you will see the following areas on the screen:
- Remote device screen pane: The pane on the left displays the screen of the remote device you are connected to.
- Toolbar: The pane on the right displays information about the connected device as well as the remote actions available and is open by default. Clicking > at the bottom of the pane will hide the toolbar. Clicking < will re-open the toolbar.
NOTE For sessions on Windows devices, the desktop wallpaper of the remote device will be changed to a solid black color for the duration of the session (existing solid-colored backgrounds will not change). The end user's original wallpaper will be restored once the session is terminated. For multi-session support, the wallpaper will only change for the active session. Refer to Multi-session support.
NOTE In some cases for devices that support Desktop Duplication (Windows devices only), you may see a black screen after the connection is established. This may indicate the desktop of the remote device is locked. A message will appear prompting you to click Send CTRL-ALT-DEL from the Keyboard section of the toolbar to unlock the desktop. Refer to Keyboard.
NOTE If a technician attempts to open a Web Remote connection by manually entering a URL to an offline device, they will be notified on the connection screen that the device is offline.
NOTE If a technician attempts to connect to an inactive RDP session using Web Remote (Windows devices only), a message will be displayed indicating that the desktop is not active/not receiving input.

Multi-session support
Web Remote allows technicians to support end users on multi-session devices such as Windows Virtual Desktops and servers running Remote Desktop Services (RDS). After initiating a Web Remote session on one of these devices, technicians can view a list of users who are logged into the device and then choose a user session from the Choose Active User Session page.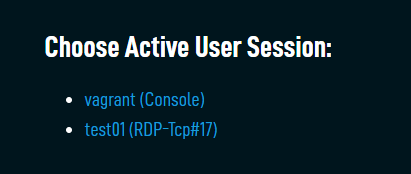
Once a user session is selected, the Web Remote session with that user will be initiated. Only the selected user will see the pop-up notification that a session is being established.
Privacy Mode considerations
If Privacy Mode is set on the remote device, the end user will be prompted to accept or decline a connection request via a dialog box that includes the requesting technician's name and email address in order for the technician to connect to the device. Refer to Privacy Mode.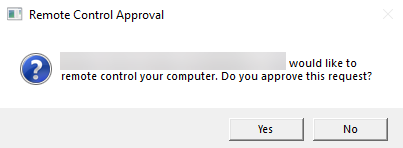
Once the connection is in progress, a message will be displayed to the end user that a remote takeover is currently in progress. This message will only appear once the end user has accepted the connection request. 
Web Remote will reconnect with the same session should a brief interruption in Internet connectivity occur; a second Privacy Mode prompt will not appear as the end user has already accepted the connection.
If the end user's screen is locked, a Web Remote session will not be established, and a message will be displayed stating that the screen is locked.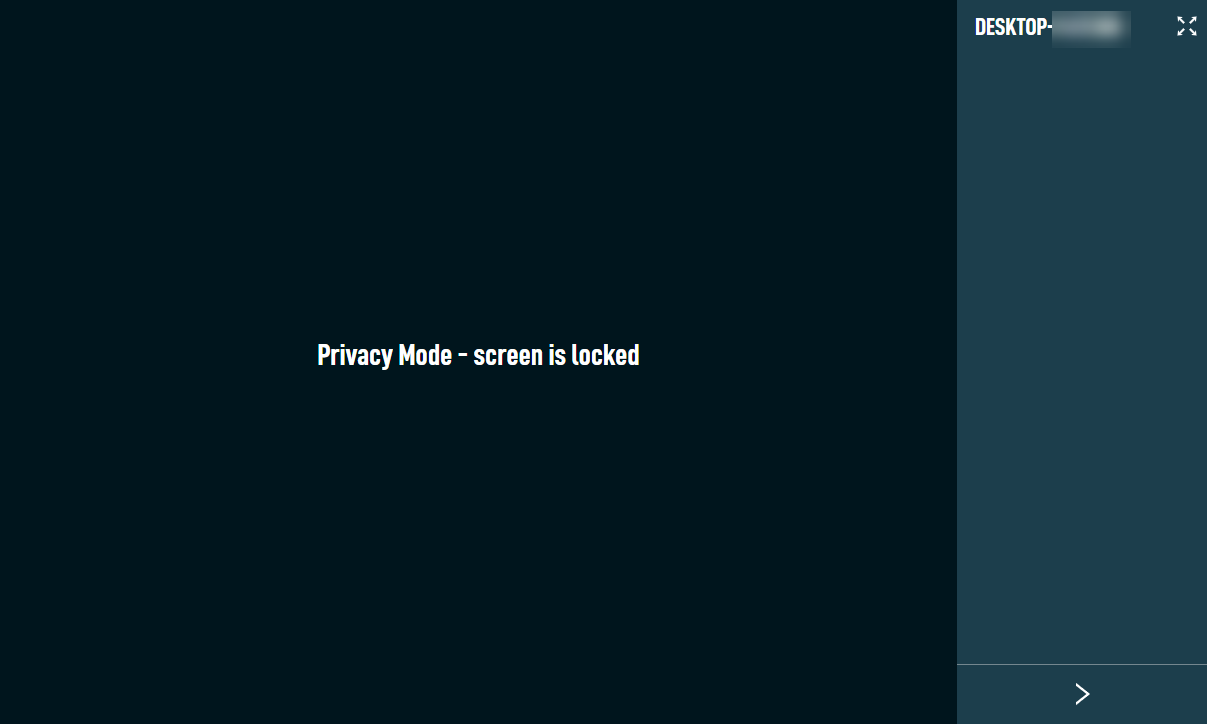
NOTE If the Privacy Mode request message does not display (macOS only), check that the System Events check box is selected under System Preferences > Security & Privacy > Privacy > AEM Agent.
Once you are connected to a device, you can view information about and perform a variety of actions on it using the toolbar. The Display and Keyboard sections are initially open by default, but your preferences for which sections are open or closed will be saved for future sessions.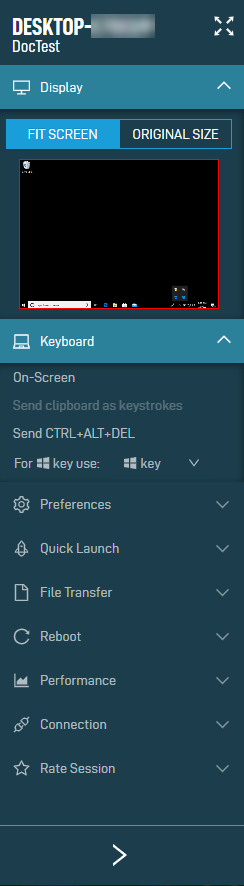
For more details about each of the toolbar sections, refer to the table below.
| Section | Description |
|---|---|
| Full screen | Click the full screen icon at the top of the toolbar to enter full screen mode for this session. Entering full screen mode will hide the toolbar. Press the Esc key to exit full screen mode, or click the < icon at the bottom of the pane to open the toolbar while in full screen mode. Select the exit full screen icon to return the screen to normal. |
| Display | • Fit Screen: Fits the remote device screen to the screen of your device. Windows devices that have multiple monitors are supported. • Original Size: View the actual size of the remote device screen. For devices that support Desktop Duplication (Windows devices only), you can manually select the image quality for a Web Remote session to help in low bandwidth scenarios. When switching to another Web Remote session within the same account, this selection will persist. Choose from the following options: The following options appear if the device you are connecting to has multiple monitors/multiple graphic adapters (Windows devices only): |
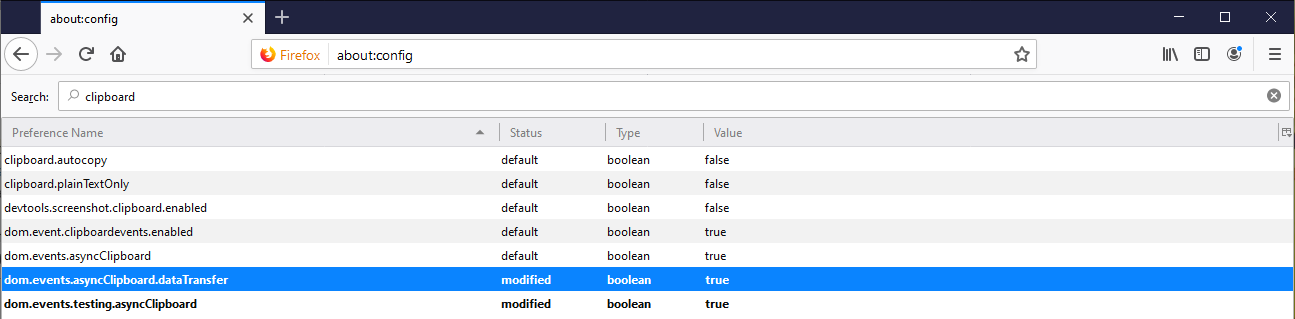
| Keyboard | • On-Screen: Opens the on-screen keyboard on the end user's remote device. The end user's native keyboard layout will be respected. • Send clipboard as keystrokes: Allows you to send text copied from your device to the remote device. IMPORTANT The text must be ASCII-only and less than 100 characters, and your browser must support the Clipboard API in order for this command to become available (not grayed out). Configure clipboard settings in Google Chrome (recommended): Configure clipboard settings in Firefox: • For Windows key use (Windows devices only): Select which key to map the Windows key functionality to in order to make use of keyboard shortcuts during a remote session. Options include the Windows key (default), Left Alt, Left Ctrl, and Right Ctrl. • For devices that support Desktop Duplication (Windows devices only), Windows ALT key codes for Norwegian, Finnish, Danish, Swedish, Dutch, German, and French language keyboards are also supported. |
| Preferences | Select the toggle buttons to enable the following options: • View Only Mode: Mouse clicks and keyboard entries will not be sent to the remote device. You will receive a notification when this button is selected and the Preferences section will remain open by default. When switching to another Web Remote session within the same account, this selection will persist. • Block Remote Input: Prevent any mouse clicks or keyboard input from the remote user while providing support. When switching to another Web Remote session within the same account, this selection will persist. The selection will be turned off for any Windows desktop changes, such as logging in or returning to the login screen by sending CTRL-ALT-DEL. Refer to Keyboard. • Lock After Disconnect: Upon disconnecting from a device, the windows session will lock and the remote session is dismissed. Credentials are required to log into the device again. For multi-session support, the session will lock only for the latest connection. Refer to Multi-session support. For devices that support Desktop Duplication (Windows devices only), the background will be restored at the end of the session before the session is locked. |
| Quick Launch | Launch the following applications on the remote device (Windows devices only): • Control Panel • System Information • Problem History • Event Viewer • Computer Management • Command Prompt • PowerShell • Registry Editor • Task Manager • System Restore Launch the following applications on the remote device (macOS devices only): |
| File Transfer | Allows you to download files from the remote device and upload files to the remote device (Windows and macOS devices). Choose where to download the file to your device. Uploaded files appear on the Desktop of the remote device, or within C:\Users\<username>\Desktop on Windows devices. Any operations under Quick Launch, File Transfer, and Reboot are temporarily disabled when a file upload or download is being performed. |
| Reboot | Allows you to reboot the remote device and reconnect to the device once the reboot is complete. Select Reboot (macOS devices) or Normal Reboot (Windows devices) to reboot in normal mode, or Safe Reboot to reboot in Safe Mode (Windows devices only). |
| Performance | The following performance graphs are displayed: • CPU (Used %) • Memory (Used %) • Disk: Write and read values measured in megabytes per second • Network: Receive and send values measured in megabits per second |
| Connection | The following connection quality graphs are displayed: • Client FPS: Measured in frames per second • Lag: Measured in milliseconds • Latency: Measured in milliseconds • Inbound Traffic Instructions: Measured in instructions per second • Inbound Traffic Data: Measured in kilobytes per second |
| Rate Session | Select a rating for the quality of the Web Remote session from 1-5 stars. Once you have entered your rating, add a comment (optional), select the Use my location toggle button if you wish to include your geolocation data, and then click the Rate Current Session button. A confirmation message will be displayed once you have submitted your rating, and this section will disappear from the toolbar. |

To close the connection to a device, close the device's browser tab. The connection to the remote device will be terminated.
NOTE The connection is automatically terminated after 30 minutes if there is no activity detected in the device's browser tab. Warning notifications are displayed after 10, 20, and 29 minutes if there is no activity detected.
Refer to Web Remote log files.


